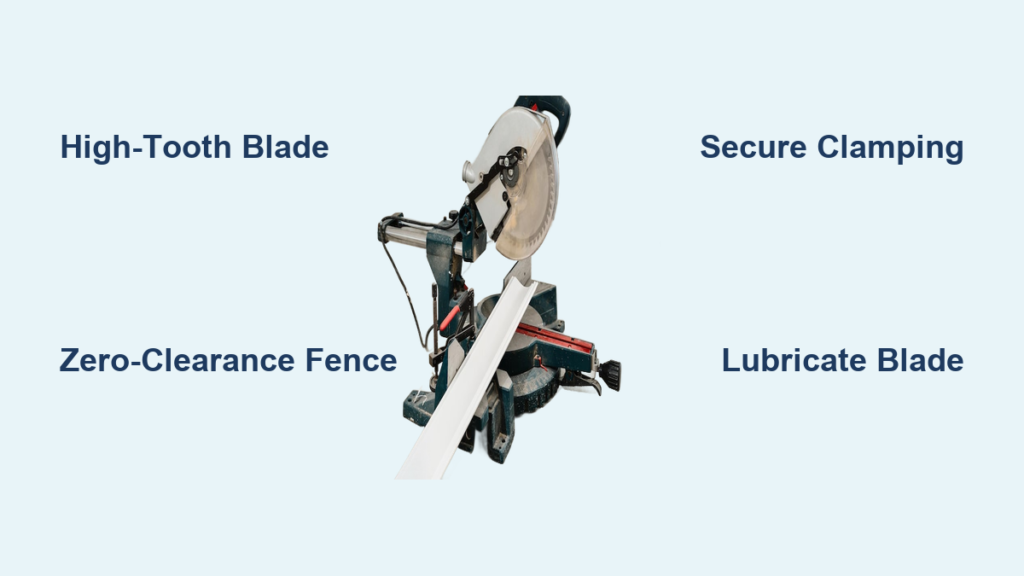
A dull or damaged blade turns every cut into a frustrating struggle. If your Ryobi miter saw leaves rough edges or burns through wood, learning how to change Ryobi miter saw blade is the fastest fix. The swap takes under ten minutes with just the Allen key that came in the box.
This guide walks you through each step using official instructions for compatible Ryobi models. You will learn how to disconnect power safely, remove the old blade, install a new one correctly, and avoid common mistakes. Follow along to keep your saw cutting clean and accurate.
Disconnect Power Before Touching the Saw

Safety comes first when changing a Ryobi miter saw blade.
Remove the Battery or Unplug the Cord
- For cordless models like the R18MS254X, slide out the battery pack completely.
- For corded saws like the RMS254DB, pull the plug from the wall outlet.
- Never skip this step because pressing the spindle lock while powered can cause serious injury.
Confirm the Saw Is Fully De-Energized
- Pull the trigger to verify the motor does not engage.
- Set the saw on a flat, stable surface with the blade guard resting down.
- Work in a well-lit area so you can clearly see small screws and flanges.
Access the Blade Bolt Under the Cover

You need to expose the blade bolt before removing the old blade.
Loosen the Blade Bolt Cover Screw
- Use your hand or the included Allen key to loosen the small screw on the side of the blade guard.
- Do not fully remove this screw. Just loosen it enough to swing the cover aside.
- Once loose, swing the plastic cover to expose the bolt and outer flange.
Lift the Lower Blade Guard Out of the Way
- Gently raise the lower blade guard and hold it in the upper position.
- This gives you clear access to the blade and spindle area.
- Avoid forcing the guard. If it sticks, check for debris or damage before proceeding.
Lock the Spindle in Place

Stopping the blade from spinning is essential when loosening the bolt.
Press and Hold the Spindle Lock Button
- Find the spindle lock button near the blade housing on your Ryobi saw.
- Press it firmly and keep holding it through the next steps.
- This locks the arbor so you can loosen the bolt without the blade turning.
Verify the Spindle Is Locked
- Try turning the blade slightly by hand to test the lock.
- If the blade still moves, release the button and press it again until fully engaged.
- Keep steady pressure on the button while using the Allen key.
Remove the Old Blade Safely
With the spindle locked, you can now take off the worn blade.
Loosen the Blade Bolt in the Correct Direction
- Insert the Allen key supplied with your saw into the blade bolt.
- Turn the bolt clockwise to loosen it. Yes, this is reverse threading.
- Keep turning until the bolt and outer flange come free.
Warning: Forgetting that the bolt loosens clockwise and tightens anti-clockwise is a common mistake. Forcing it the wrong way can strip the threads and damage your saw.
Slide the Blade Off the Spindle
- Carefully pull the old blade straight off the arbor.
- Set it aside safely. Used blades stay sharp, so wrap it before disposal.
- Leave the inner flange in place on the spindle. Do not remove it.
Install the New Blade Correctly

Now it is time to fit your replacement blade the right way.
Match the Rotation Arrow on the Blade
- Look for the arrow printed on the new blade that shows rotation direction.
- Align this arrow with the arrow stamped on the blade guard of your Ryobi.
- Installing the blade backward reduces cutting efficiency and increases kickback risk.
Slide the New Blade Onto the Arbor
- Place the new blade onto the spindle so it sits flush against the inner flange.
- The teeth should point forward, away from the motor housing.
- Check for any gaps or misalignment before tightening.
Secure the Blade with the Outer Flange
Proper tightening keeps the blade safe and steady during cuts.
Fit the Outer Flange Against the Blade
- Place the outer flange onto the arbor with the flat side facing the blade.
- The raised center of the flange should point outward, away from the blade.
- This setup ensures even pressure and prevents wobbling.
Tighten the Bolt Anti-Clockwise
- Reinsert the Allen key into the bolt head.
- Turn the bolt anti-clockwise to tighten it while holding the spindle lock.
- Apply firm, controlled pressure. Do not over-torque or use power tools.
Pro Tip: If the Allen key bends or slips,