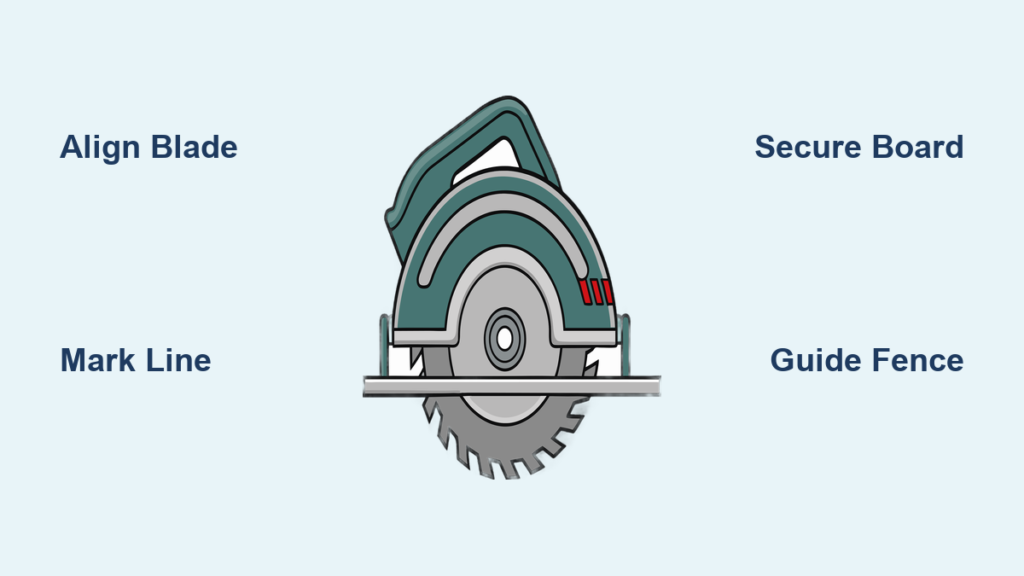
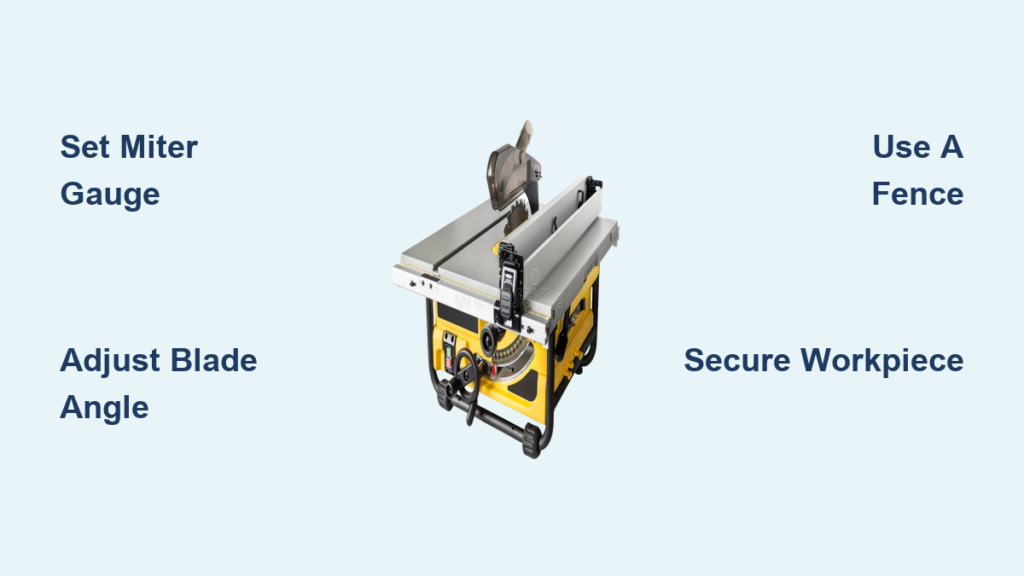
You’ve got a circular saw sitting in your shop, but you need the precision and stability of a table saw for your next project. The good news is you can learn how to make table saw from circular saw using basic materials and a few hours of work. This conversion is ideal for woodworkers on a budget or anyone needing a portable setup for smaller jobs. By building a simple table-mounted rig, you gain better control, cleaner cuts, and the ability to make repeatable rip cuts.
Converting a circular saw into a table saw is not about replacing a professional-grade tool. It is about maximizing what you already own. The core concept involves mounting the circular saw underneath a flat work surface so the blade extends upward through a slot, mimicking a traditional table saw setup. While safety and precision matter greatly, careful construction and proper use deliver solid results for light to medium tasks. In this guide, you will learn how to build a stable base, securely mount your saw, align the blade, and operate the setup safely.
Build a Sturdy Table Base for Your DIY Table Saw

Before mounting your circular saw, you need a solid, flat surface that supports both the material being cut and the saw itself. The table must be rigid enough to prevent vibration and warping during operation.
Choose the Right Work Surface
Use a ½-inch to ¾-inch thick sheet of plywood, MDF, or particle board cut to at least 24 inches by 18 inches. A larger table, such as 24 inches by 36 inches, improves support for bigger workpieces. Ensure the surface is flat and free of warps. MDF offers a smooth finish but absorbs moisture, while plywood is more durable and moisture-resistant.
Frame for Stability
Build a rectangular frame from 2×4 lumber or steel tubing to support the tabletop. The frame should be at least 30 inches high to allow space underneath for the saw and easy blade adjustments. Attach legs securely using corner brackets or wood screws. Add cross supports front-to-back and side-to-side to prevent wobbling.
Mounting Platform Design
Cut a hole in the center of the table slightly smaller than your circular saw’s base plate. This allows the saw to sit flush from below while providing support around the edges. Leave enough clearance behind the blade for the saw’s handle and trigger to operate freely.
Mount the Circular Saw Securely Under the Table
.jpg)
A loose or misaligned saw is dangerous and ineffective. Proper mounting ensures consistent blade height, accurate cuts, and safe operation throughout your project.
Invert and Position the Saw
Turn your circular saw upside down and position it under the table so the blade aligns with the front edge of the table. The front of the saw base should be about 1 to 2 inches from the leading edge to allow for blade guard clearance and easy startup.
Secure the Base Plate
Mark screw holes from the saw’s base plate onto the underside of the table. Drill pilot holes, then use bolts or coarse-thread wood screws to fasten the saw securely. Use washers to distribute pressure and prevent cracking. Tighten evenly to avoid warping the base.
Allow for Adjustments
Do not permanently glue or over-tighten fasteners. You will want to remove or adjust the saw later for depth or bevel changes. Consider using T-nuts or threaded inserts in the table for reusable, strong anchor points.
Cut the Blade Slot Accurately in the Tabletop
The blade slot is critical because it must match the blade’s path exactly and allow smooth movement without binding during cuts.
Trace the Blade Path
Raise the blade to full height and make a shallow cut into the table surface. Turn off the saw and lower the blade. This initial cut marks the exact centerline of the blade’s travel.
Extend the Slot Front to Back
Use a jigsaw or handsaw to extend the slot from front to back, staying within the kerf of the initial cut. The slot should be no wider than the blade itself, typically 1/8 inch. Wider slots reduce support and increase kickback risk.
Smooth the Edges
Sand the slot’s edges to remove splinters. For added durability, glue a hardwood strip along the front and back edges of the slot to reinforce the surface and reduce wear over time.
Align the Fence for Precision Cuts on Your Homemade Table Saw

A straight, parallel fence is essential for clean rip cuts. Misalignment causes binding, tear-out, and inaccurate dimensions on every piece you cut.
Install a Straight Edge Fence
Use a straight, solid piece of hardwood or aluminum extrusion as your fence. It should run parallel to the blade and extend beyond both ends of the table. Clamp it temporarily first to test alignment.
Test for Parallel Alignment
Measure from the blade’s left side, not the slot, to the fence at the front and back. Both measurements must be identical. Even a 1/16-inch difference can cause binding. Adjust the fence until both ends match perfectly.
Lock Fence in Place
Once aligned, secure the fence using clamps, bolts, or a dedicated track system. For repeat use, add a T-track or miter gauge system for easy adjustment and locking.
Adjust Blade Depth and Angle for Safe Cutting

Proper setup prevents kickback, reduces strain, and improves cut quality on your DIY table saw from circular saw conversion.
Set Correct Blade Depth
With the saw unplugged, adjust the blade so it extends only ¼ inch below the thickness of the material you are cutting. For example, when cutting ¾-inch plywood, the blade should stick out about 1 inch. This minimizes exposed blade and reduces accident risk.
Check Bevel Capability
Some circular saws allow bevel cuts from 0° to 45°. If you plan to make angled cuts, ensure the saw’s bevel mechanism works smoothly when mounted. Test adjustments from underneath and mark common angles for quick reference.
Verify Blade Guard Function
Ensure the blade guard retracts freely and covers the blade when not in use. If the guard interferes with the table, modify the slot or guard carefully, but never remove it entirely.
Ensure Safe Operation of Your DIY Table Saw
Using a homemade table saw comes with higher risks than a factory-built model. Follow strict safety practices every time you use the tool.
Always Use a Push Stick
Keep hands at least 6 inches from the blade. Use a push stick or push block to guide material past the blade, especially when cutting narrow pieces.
Install a Riving Knife (Optional)
A riving knife mounted behind the blade reduces the chance of kickback by preventing the kerf from closing. You can fabricate one from metal or thick wood and attach it to the saw base.
Wear Safety Gear
Always wear safety glasses, hearing protection, and avoid loose clothing. Never operate the saw without proper lighting and a clean workspace.
Maintain and Upgrade Your Table Saw Over Time
Your DIY table saw from circular saw will improve with use and refinement as you identify what works best for your projects.
Inspect Mounting Regularly
Check bolts and screws weekly for looseness. Vibration can cause fasteners to back out over time, leading to misalignment or failure during operation.
Upgrade to a Dedicated Base
For frequent use, replace the original saw base with a larger aluminum or steel plate for better stability and smoother movement across the table.
Add Dust Collection
Drill a hole near the blade and attach a shop vacuum hose to reduce sawdust buildup. This improves visibility and air quality in your workspace.
Frequently Asked Questions About Making a Table Saw from a Circular Saw
Is it safe to make a table saw from a circular saw?
Yes, it can be safe when built correctly with a sturdy base, secure mounting, and a properly aligned fence. However, it carries higher risks than a factory-built model. Always use a push stick, wear safety gear, and keep the blade guard functional to minimize hazards.
What materials do I need to convert a circular saw to a table saw?
You need plywood or MDF for the tabletop, 2×4 lumber or steel tubing for the frame, bolts or wood screws for mounting, and hardwood or aluminum for the fence. Basic tools include a drill, jigsaw, measuring tape, and clamps for assembly and alignment.
How accurate is a homemade table saw from a circular saw?
Accuracy depends on the precision of your build and alignment. With careful measurement and a parallel fence, you can achieve cuts accurate within 1/16 inch. For professional-grade precision, a dedicated table saw is still the better choice.
Can you make bevel cuts with a circular saw table saw?
Yes, if your circular saw has a bevel adjustment feature. The saw’s bevel mechanism should work smoothly when mounted underneath the table. Test the range from 0° to 45° and mark common angles for quick reference during projects.
What thickness should the tabletop be for a homemade table saw?
Use a tabletop between ½ inch and ¾ inch thick. Plywood, MDF, or particle board all work well. Thicker tops offer more stability and reduce vibration, while thinner materials may flex under pressure during cuts.
How do I prevent kickback on a homemade table saw?
Prevent kickback by keeping the blade aligned with the fence, using a riving knife behind the blade, and maintaining proper blade depth. Always use a push stick for narrow cuts and avoid pinching the material against the blade during operation.
Key Takeaways for Building a Table Saw from a Circular Saw

Learning how to make table saw from circular saw is a rewarding project that expands your workshop capabilities without major expense. Focus on building a sturdy base, securing the saw properly, and aligning the fence precisely for the best results. Safety should always come first through push sticks, blade guards, and proper protective gear.
Start with a simple build, test thoroughly on scrap material, and refine your setup based on what you learn. As you gain experience, consider upgrades like a dedicated mounting plate, dust collection, and a riving knife to improve performance. Your DIY table saw can handle shelves, trim work, and small projects with surprising accuracy when built with care.