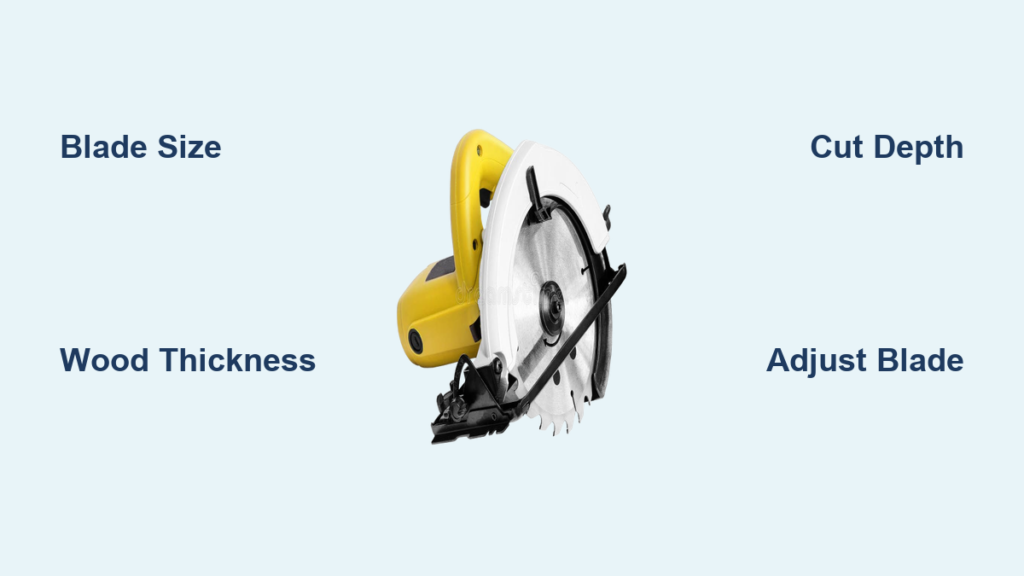
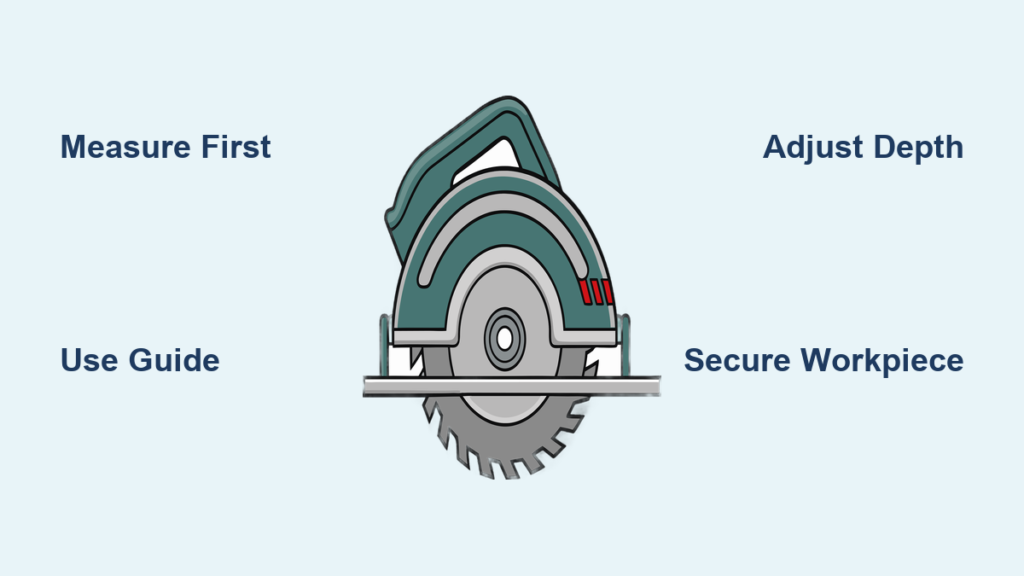
Trimming a door to fit new flooring or adjust its height is a common DIY project. When done correctly, the cut looks factory-fresh. When done poorly, it leaves splintered edges and a door that refuses to close. Knowing how to cut a door with a circular saw saves money, time, and the frustration of replacing a damaged door.
This guide covers every step of the process. You will learn how to measure accurately, pick the best blade, prevent tear-out, build a simple guide jig, and finish the edge like a pro. Whether you need to trim a quarter inch or two full inches, these techniques deliver consistent results without expensive specialty tools.
Measure from the Top for a Level Cut

Always measure from the top edge of the door down to your cut line. The bottom of most doors collects nicks, scrapes, and uneven wear over years of use. Measuring from a damaged bottom edge transfers that irregularity into your new cut, leaving the door sloped and likely to bind in the frame.
Even a small error of 1/8 inch can cause rubbing at the latch side or prevent the door from latching. Measuring from the top preserves the door’s original squareness and guarantees a level result.
Calculate the Final Door Height
To determine how much to trim, add up every component in the door assembly:
– Door height
– Jamb thickness (typically 3/4 inch)
– Header shim space (around 1/8 inch)
– Floor clearance (3/8 to 3/4 inch)
– Finished flooring thickness
For the best outcome, install the flooring first. Then close the door and scribe the gap to match the floor’s contour. This creates a consistent clearance even on uneven surfaces.
Select the Right Circular Saw Blade

The blade you choose determines whether the cut looks clean or ragged. A standard 24-tooth framing blade rips through wood fibers aggressively, causing heavy splintering on veneer, paint, and plywood surfaces.
Use a 40-Tooth or 60-Tooth Finish Blade
A 40-tooth circular saw blade is the go-to choice for most trim work. It slices through wood fibers cleanly with minimal tear-out. For painted, veneered, or melamine doors, upgrade to a 60-tooth ultra-fine finish blade. The higher tooth count shears surface layers without chipping.
Look for blades with Hi-ATB (High Alternate Top Bevel) geometry. This tooth design angles the cutting edges to slice wood fibers rather than tear them, making it ideal for cross-cutting doors with delicate surfaces.
Pick a Thin-Kerf Blade for Smoother Results
Choose a thin-kerf blade measuring around 1/16 inch thick. It removes less material, reduces motor strain, and produces a cleaner cut. Stick with reputable brands, since cheap thin blades can flex and wander mid-cut.
Top recommendations include:
– Diablo 40-tooth or 60-tooth finish blades
– Freud LU79R007 40T Hi-ATB
Replace any blade that looks dull or chipped. Worn teeth increase tear-out and can scorch the wood surface.
Prevent Splintering with Tape and Scoring

The top surface of the door faces the greatest splintering risk because the blade teeth exit upward through the wood. Stop tear-out before it starts with two simple preparations.
Tape and Score the Cut Line
Follow these steps for a splinter-free surface:
1. Apply 2-inch-wide masking tape over the entire cut line.
2. Score the line deeply with a sharp utility knife or box cutter.
3. Cut just on or slightly inside the scored line.
Scoring severs the surface wood fibers so the blade cannot lift them during the cut. This technique eliminates most chipping on painted or veneered doors.
Also score the vertical edge where the blade exits. Blowout at the corner is common when this area goes unprepared.
Protect the Door Finish
The saw’s metal base plate can scratch the door’s surface as it slides along the guide. To prevent this:
– Add a second strip of masking tape 5 inches from the edge where the saw foot rides.
– Pad the shoe with extra tape if it has burrs or rough spots.
This protects the finish and helps the saw track smoothly along your guide.
Support the Door During Cutting
Tear-out often appears at the start and end of a cut where wood fibers lack support. Reinforcing these areas prevents splintering along the entire edge.
Use a Sacrificial Backer Board
Clamp a scrap wood backer board behind the door at the beginning of the cut. This supports the fibers as the blade enters the wood. As the cut finishes, support the offcut piece with a clamp or have a helper catch it before it falls free.
Letting the offcut drop unsupported can splinter the freshly cut edge.
Build a Straight Saw Guide Jig
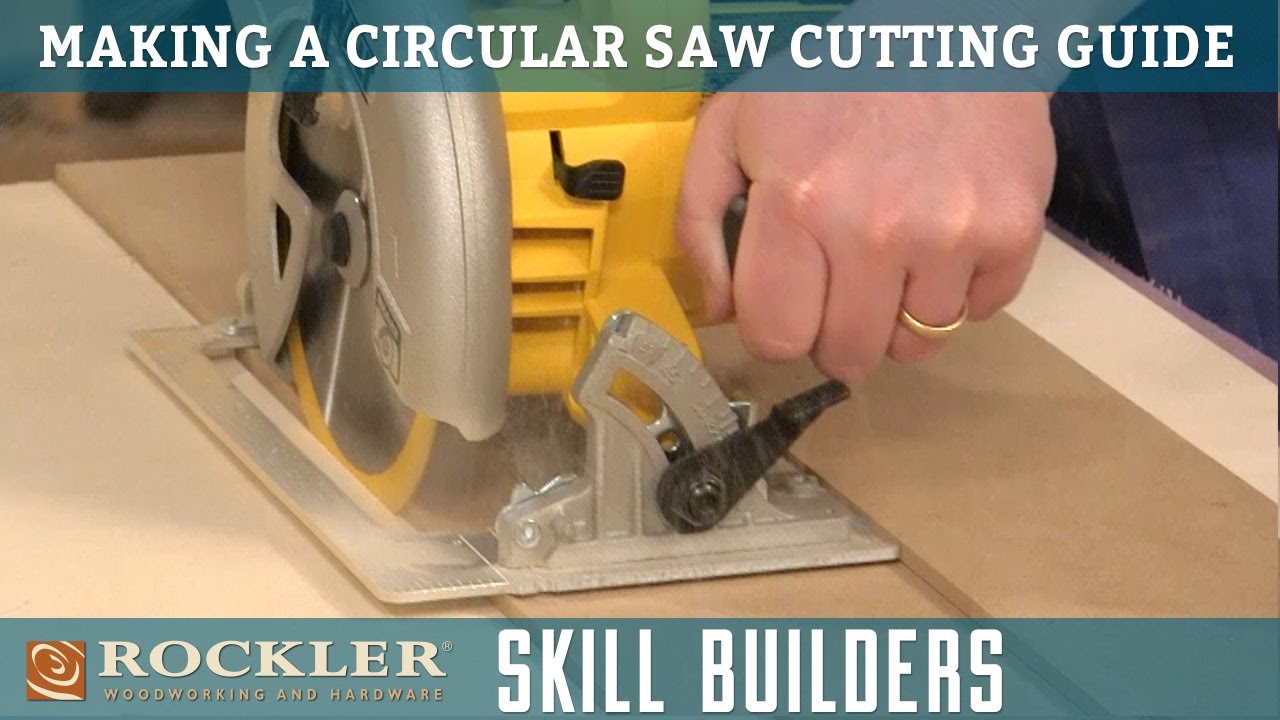
Cutting freehand with a circular saw is risky. Even a slight wobble ruins a straight edge. A saw guide jig acts as a fence, guiding the saw base along a rigid, perfectly straight edge. It eliminates human error and keeps the blade from drifting.
Why a Jig Outperforms Freehand
A jig ensures consistent results every time. The saw base rides against a fixed straight edge, so the blade stays on your marked line from start to finish. This is the professional standard for door trimming.
How to Construct a Simple Jig
You only need two pieces of flat, rigid material:
– Guide piece: about 170 mm long, spanning the full door width, with a factory-straight edge
– Reinforcement piece: about 280 mm long, glued perpendicularly to the back of the guide
Use MDF or plywood for both pieces. These materials stay flat and resist warping. Glue the pieces together and let them cure for at least 12 hours. Store the finished jig flat or hang it by a drilled hole to preserve its straightness.
Execute the Cut with Precision
Proper execution turns preparation into a clean, professional result. Focus on alignment, depth, and steady movement.
Clamp and Align the Jig
- Place the door on sawhorses or a sturdy workbench.
- Clamp the door at multiple points to prevent any movement.
- Align the jig with your marked cut line across the full width.
- Clamp the jig firmly to the door and verify there is zero play.
Any shift during the cut throws off the entire line.
Make the Cut
Set the saw depth so the blade extends about 1/4 inch below the door thickness. Excess depth increases deflection and risks damaging the floor beneath. Start the saw before it touches the wood and let it reach full speed. Push steadily along the jig with the base plate pressed tight against the guide. Wait for the blade to stop completely before lifting the saw.
For thick solid-core doors (1 3/4 inch), consider a two-pass cut:
1. Cut halfway through from the front face.
2. Flip the door and finish from the back side.
This prevents blade deflection from opposing grain directions and delivers a cleaner edge.
Adjust Technique for Different Door Materials

Different door surfaces require slightly different approaches. Adjusting your method prevents chipping on delicate finishes.
Painted Doors
Paint chips easily along the cut line. Use masking tape, deep scoring, and a 60-tooth finish blade. Cut slowly and steadily to keep the paint intact.
Masonite or Veneer
These thin, brittle surfaces delaminate under stress. Use a 40-tooth thin-kerf blade and score thoroughly. A light, consistent feed rate prevents the veneer from lifting.
Melamine Doors
Melamine chips easily under aggressive teeth. Use a Hi-ATB blade and avoid dull or coarse-toothed options. Scoring remains essential for a clean edge.
Troubleshoot Common Cutting Problems
Even with good preparation, issues can arise during the cut. Quick diagnosis keeps the project on track.
Blade Drifting Off Line
If the cut wanders, check these factors:
– Blade depth set too deep
– Dull or damaged blade
– Loose or misaligned jig
Tighten the setup and replace worn blades immediately.
Rough or Torn Edges
Common causes include:
– Dull blade
– Wrong tooth count for the material
– Feed rate too fast or too slow
Use a sharp 40-tooth or higher blade and maintain even pressure. Let the saw do the work without forcing it.
Excessive Vibration
Vibration creates poor cuts and increases tear-out risk. Stop it by:
– Clamping the door at multiple points
– Using a rigid, flat work surface
– Ensuring the jig does not flex during the cut
Sand and Seal the New Edge
Finishing the cut edge protects the door from moisture and matches the factory appearance.
Smooth the Cut Edge
Sand the new edge with a 240-grit sanding block. Wrap the sandpaper around a flat block to keep the edge square. Hand-sanding alone rounds the corners. Lightly ease the sharp edges with a few strokes to prevent chipping during handling.
Seal Against Moisture
The cut edge exposes raw wood or core material that absorbs moisture quickly. Unsealed edges swell, warp, or rot over time, especially in bathrooms or exterior doors. Seal the edge with:
– Paint
– Wood sealant
– Edge-banding tape
Apply a full coat to all exposed surfaces. This step is essential for long-term durability.
Rehang and Test the Door Fit
After finishing, reinstall the door and verify proper clearance.
Reinstall the Door
- Lift the door back onto the hinges.
- Insert hinge pins and tap gently with a hammer until seated.
- Open and close slowly to check for binding.
Check Floor Clearance
Close the door and inspect the gap at the bottom. The clearance should measure 3/8 to 3/4 inch above the floor and remain consistent across the entire width. If the floor is uneven, scribe the door to match the contour before cutting.
Avoid Costly Cutting Mistakes
A few simple precautions prevent the most common door-trimming disasters.
Never Cut More Than 2 Inches on Hollow Doors
Hollow-core doors contain a solid bottom rail about 2 inches tall. Cutting beyond this removes structural support and causes the door to collapse or sag. Maximum trim: 2 inches total. Solid wood doors tolerate more, often 1 inch or more depending on thickness.
Don’t Skip the Score
Even with a premium blade, skipping the utility knife score risks chip-out on veneer or paint. The scoring step takes 30 seconds and saves hours of repair work.
Don’t Use a Framing Blade
A 24-tooth framing blade may sit in your toolbox, but it is the wrong tool for doors. Upgrade to a 40-tooth finish blade. The $20 investment protects a door worth $100 or more.
Frequently Asked Questions About Cutting Doors with a Circular Saw
How much can you trim off a hollow core door?
You can safely trim up to 2 inches total from a hollow core door. Cutting beyond this point removes the solid bottom rail, which provides structural support. Without it, the door loses stability and may collapse.
What blade prevents splintering when cutting a door?
A 40-tooth or 60-tooth finish blade with Hi-ATB geometry prevents splintering. These high-tooth-count blades shear wood fibers cleanly rather than tearing them. Avoid 24-tooth framing blades, which cause heavy tear-out on veneer and paint.
Can you cut a door without removing it from the hinges?
Yes, you can cut a door while it is still hanging. Lay a board across the bottom of the door opening to support the saw, then scribe and cut along the guide. However, removing the door makes clamping, measuring, and cutting easier and safer.
Do you need a jig to cut a door with a circular saw?
A jig is not strictly required, but it produces far better results. A straight saw guide jig keeps the blade on your marked line and prevents drift. Freehand cuts often wander, leaving an uneven edge that requires rework.
What is the minimum gap at the bottom of a door?
The minimum gap is 3/8 inch for hard flooring and up to 3/4 inch for carpet. This clearance allows the door to swing freely without scraping the floor and accommodates slight settling or seasonal movement.
Final Takeaways for Cutting a Door with a Circular Saw
Cutting a door with a circular saw is a skill every DIYer can master with the right preparation. Measure from the top to preserve squareness. Choose a 40-tooth or 60-tooth finish blade to prevent splintering. Score the cut line with a utility knife and apply masking tape for a clean surface.
Build a simple guide jig from MDF or plywood to keep the saw on track. Clamp the door securely, set the blade depth correctly, and cut with steady pressure. After the cut, sand the edge with 240-grit paper and seal it against moisture.
Your next step is to gather your tools, measure your door carefully, and make the cut with confidence. A clean, professional result is well within reach on your first attempt.