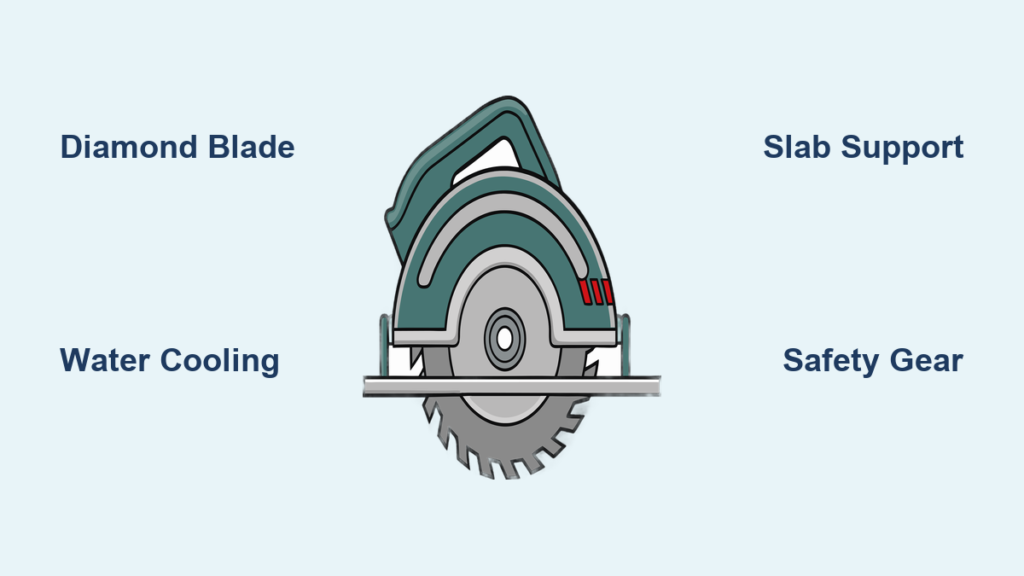
Granite countertops, backsplashes, and vanity tops look like jobs for expensive wet saws, but a standard circular saw can deliver the same clean, professional results. With the right diamond blade, a gravity-fed water system, and proper slab support, you can cut through ¾-inch granite in a single pass without renting specialty equipment. Skip any of those three pillars and you risk cracked stone, destroyed blades, or dangerous kickback.
This guide walks you through every step of the process, from selecting your blade to finishing the cut edge. You’ll learn how to build a hands-free water cooling setup, mark your cut line for accuracy, support the slab to prevent snapping, and finish the edge for a polished, installation-ready result.
Pick the Right Diamond Blade for Granite
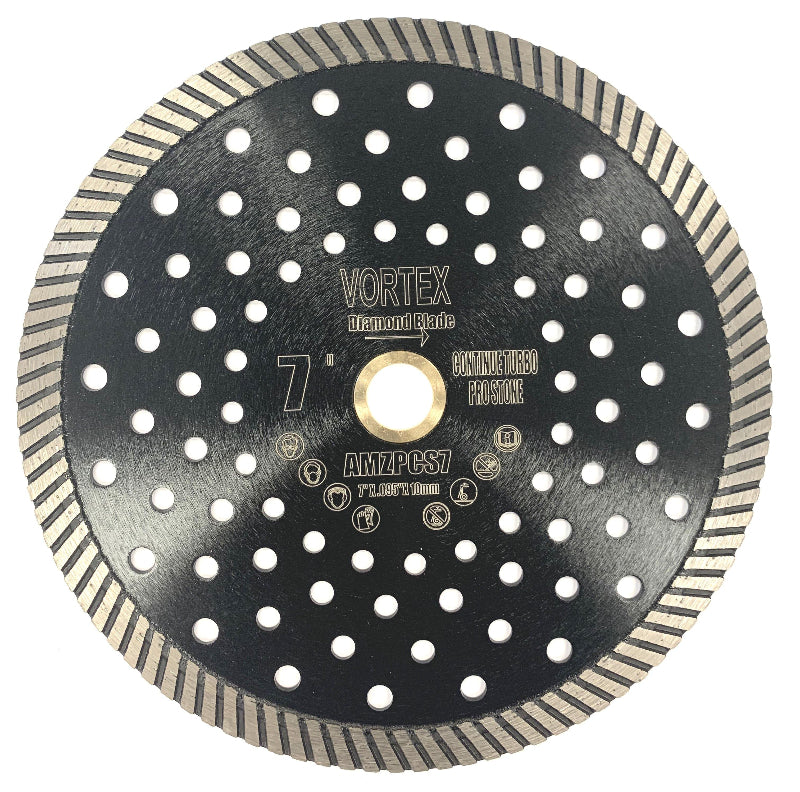
Choose a Continuous Rim Blade
A continuous rim diamond blade is the only blade that cuts granite cleanly. The unbroken edge grinds through stone without the chipping and vibration you get from segmented blades. Look for a blade rated for both dry and wet use and approved for granite, slate, and masonry. A 7¼-inch blade fits most circular saws and offers enough depth to slice through standard slabs and thickened edges in one pass.
Skip Cheap or Wrong Blades
Generic abrasive blades and segmented masonry blades will overheat, stall, and produce rough, chipped edges. They also wear out fast and may force you into multiple passes, which widens the kerf and misaligns your cut. Never use a metal-cutting blade on stone; it is ineffective and unsafe. Spend the money on a quality continuous rim blade because it is the single biggest factor in your success.
Confirm Compatibility and Set Depth
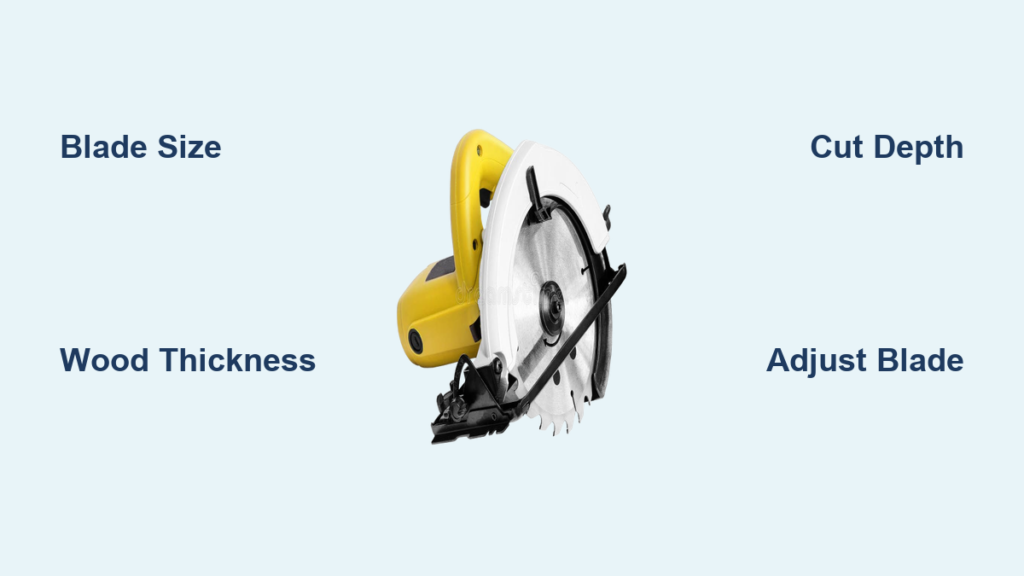
Check that your saw accepts a 7¼-inch blade with a 5/8-inch arbor. Install the blade in the correct direction and tighten the bolt fully. Adjust the depth so the blade extends about ¼ inch below the underside of the granite. This setting prevents unnecessary wear and keeps you from gouging your work surface, unless you need a full-depth cut on a thickened edge.
Build a Gravity-Fed Water Cooling System

Why Water Is Essential
Cutting granite creates extreme heat that can destroy a diamond blade in minutes. Water cools the cutting edge, suppresses hazardous silica dust, and lubricates the cut for smoother progress. Dry cutting invites thermal shock, warped blades, and airborne crystalline silica that damages your lungs. A steady water stream makes the job safer, quieter, and far more efficient.
Assemble the DIY Setup
You don’t need a commercial wet saw to get reliable water delivery. Build your own system with these parts:
- A 5-gallon bucket placed on a shelf or stand above the saw
- Quarter-inch brake line tubing that resists kinking
- Two brackets repurposed from rip guide hardware
- Thumb screws for tool-free attachment
Run the tubing from the bucket to the saw, loop it around the front of the guard, and mount it with brackets secured to the rip guide holes. Position the nozzle about 3/8 inch from the blade’s cutting edge for the best coverage.
Test and Fine-Tune the Flow
Open the valve and check the stream before you start cutting. The flow should be steady and direct, enough to keep the blade wet without causing splashback or blocking your view. Add an inline valve if you need to adjust pressure. Never rely on a sponge or hand-held bottle; both compromise control and consistency.
Prepare Your Workspace and Slab
Use a Rigid, Level Surface
Granite demands a perfectly level, immovable workbench. Any flex or sag during the cut increases the chance of cracking. Bolt your table to a deck or use heavy-duty sawhorses. Avoid flimsy folding tables that bounce under load. The surface must support the full slab length without any overhang.
Support the Slab Under the Cut Line
Slide scrap wood pieces under both sides of the cut path so the granite never spans an unsupported gap. These supports prevent the slab from sagging into the kerf, which causes binding, chipping, or a catastrophic snap. For longer cuts, space support blocks every 12 to 18 inches. Always carry the slab with full-length support; never lift it by the ends or it may break in half.
Mark the Cut Line with Durable Tape
Measure twice before you mark anything. Apply blue painter’s tape along the cut path, then reinforce it with electrical tape for better water resistance. Use a straight edge and permanent marker to draw a sharp, visible line. Cut just outside the line and keep the tape on the keeper side as your visual guide.
Execute the Cut Safely and Accurately
Start the Water Before the Blade
Turn on the water flow before you power up the saw. Let the blade reach full speed, then slowly lower it into the granite while keeping the stream running. Water on the blade from the first contact prevents instant overheating and dramatically extends blade life.
Apply Steady, Controlled Pressure
Let the diamond teeth do the work. Push the saw forward at a consistent pace without forcing it. Forcing causes overheating, vibration, and rough edges. If the blade starts smoking or slowing down, you are feeding too fast. A well-cooled, sharp blade cuts smoothly and quietly with minimal resistance.
Keep the Blade Aligned
Stay just outside the marked line and use the tape as your guide. If the saw begins to drift, stop and reposition rather than trying to correct mid-cut. For long cuts, clamp a rip guide to the slab for perfectly straight results. On thickened edges, proceed slowly and confirm your blade is rated for full-depth cutting.
Handle Specific Cut Scenarios
Make Clean Cross-Section Cuts
For cuts running across the width of the slab, ensure full support on both sides, start at one edge with the water flowing, and guide the saw steadily through to the opposite side. The result should be a clean, chip-free edge with no cracking, provided the slab is well-supported and the blade stays cool.
Complete Lengthwise Cuts with Precision
For long, parallel cuts, start at one end and cut a few inches, then move to the opposite end and cut back toward the middle. This bookend method keeps the saw aligned and reduces drift. Watch for thickened edges and verify your blade depth and cooling are adequate. If a corner will be hidden by a sink or cabinet, minor deviations up to 1/16 inch are acceptable.
Recover from Minor Drift or Tape Failure
Small errors happen. If the cut veers slightly and the edge will be hidden, leave it alone. If the painter’s tape peels, the electrical tape underneath usually holds the line. Stop the saw if visibility becomes poor, re-mark if needed, and resume with proper alignment.
Follow Critical Safety Protocols
Plug Into a GFCI Outlet
Water and electricity create a deadly combination. Always plug your saw into a GFCI-protected outlet, which cuts power instantly if a ground fault occurs. Test the GFCI before you start and keep the power cord away from the water stream and cut path.
Wear Full Protective Gear
Protect yourself with the right equipment:
- Goggles to shield against stone chips and spray
- Hearing protection for the loud cutting noise
- Dust mask or respirator to filter any airborne silica
- Gloves and sturdy footwear for safe slab handling
Never run the saw without eye and ear protection.
Prevent Kickback and Slab Fracture
Make sure the blade is not pinched by sagging material. Keep the rip guide secure and avoid twisting the saw mid-cut. If the slab starts to crack, stop immediately; that usually means inadequate support. Never stand directly behind the saw while it is running.
Finish and Prepare for Installation

Inspect and Clean the Cut Edge
Turn off the water and inspect the edge once the cut is complete. It should be smooth and free of major chips. Rinse the piece with water to wash away slurry and double-check your measurements. Minor imperfections can be polished out later.
Polish and Seal the Granite
For visible edges, use a granite polishing pad or hand grinder with progressively finer diamond discs to achieve a glossy finish. Once installed, apply a high-quality stone sealer to protect against stains and moisture. Sealing is essential for kitchen countertops and bathroom vanities.
Install and Use the Leftovers
Fit the cut piece into place on a shop counter, vanity base, or wall for a backsplash. Use caulk or adhesive as needed. Store leftover granite on a flat, padded surface for future projects like side splashes, trivets, or repair patches.
Frequently Asked Questions About Cutting Granite
Can a regular circular saw cut through granite?
Yes, a standard circular saw can cut granite when fitted with a continuous rim diamond blade rated for granite and paired with a water cooling system. The blade must be 7¼ inches for full-depth cuts on ¾-inch slabs.
Do you need water when cutting granite with a circular saw?
Water is non-negotiable. It cools the diamond blade, suppresses hazardous silica dust, and lubricates the cut. Dry cutting will destroy the blade quickly and create serious respiratory risk from airborne silica.
What blade works best for cutting granite?
A continuous rim diamond blade rated for dry and wet use on granite, slate, and masonry is the only safe and effective choice. Avoid segmented blades, abrasive blades, and metal-cutting blades.
How thick of granite can a circular saw cut?
A 7¼-inch continuous rim diamond blade can cut through ¾-inch granite slabs and most thickened edges in a single pass. Thicker stone may require multiple passes or a larger blade.
Is it dangerous to cut granite with a circular saw?
It can be dangerous if you skip safety steps. Always use a GFCI outlet, wear goggles and hearing protection, support the slab fully, and keep water flowing on the blade. With proper precautions, the process is safe and manageable.
What happens if the granite cracks during cutting?
Cracking usually means the slab lacked proper support. Stop the saw immediately, assess the damage, and check that scrap wood is positioned under both sides of the cut line. A cracked piece may still be usable for smaller projects or hidden areas.
Key Takeaways for Cutting Granite with a Circular Saw
Cutting granite with a circular saw comes down to three essentials: a continuous rim diamond blade, a gravity-fed water cooling system, and full slab support. Skip any one of these and you risk cracked stone, destroyed blades, or serious injury.
Start by setting up a rigid, level workspace and supporting the slab with scrap wood under the cut line. Mark your path with painter’s tape reinforced by electrical tape, then build a hands-free water system using a bucket, brake line tubing, and brackets. Cut just outside the line with steady pressure, keep the blade aligned, and never force the saw.
Prioritize safety at every step. Use a GFCI outlet, wear full PPE, and stay alert for kickback or slab fracture. Once the cut is complete, polish the edge, seal the stone, and store any leftovers for future projects. With the right preparation and a steady hand, you can achieve professional-grade granite cuts without renting expensive equipment.
Ready to start your project? Gather your blade, tubing, and safety gear, then set up your workspace this weekend. A clean, accurate granite cut is well within reach for any skilled DIYer.