If you’ve ever watched a carpenter slice through plywood with flawless, straight edges, chances are they were using a track saw. Unlike a standard circular saw that can wander off course, a track saw delivers clean, repeatable cuts every time. So, how does a track saw work exactly? It pairs a specialized circular saw with a guided rail to eliminate freehand error and produce professional results.
The secret lies in the rail. Instead of steering the saw by hand, you lock it onto an aluminum track that stays secured to your material. This rail acts as a rigid straightedge that keeps the blade moving in a perfectly straight line. The saw also includes features like anti-splinter strips, dust ports, and automatic braking for cleaner and safer operation. In this guide, you’ll learn every component and step behind how a track saw works.
Track Saw Key Components Explained
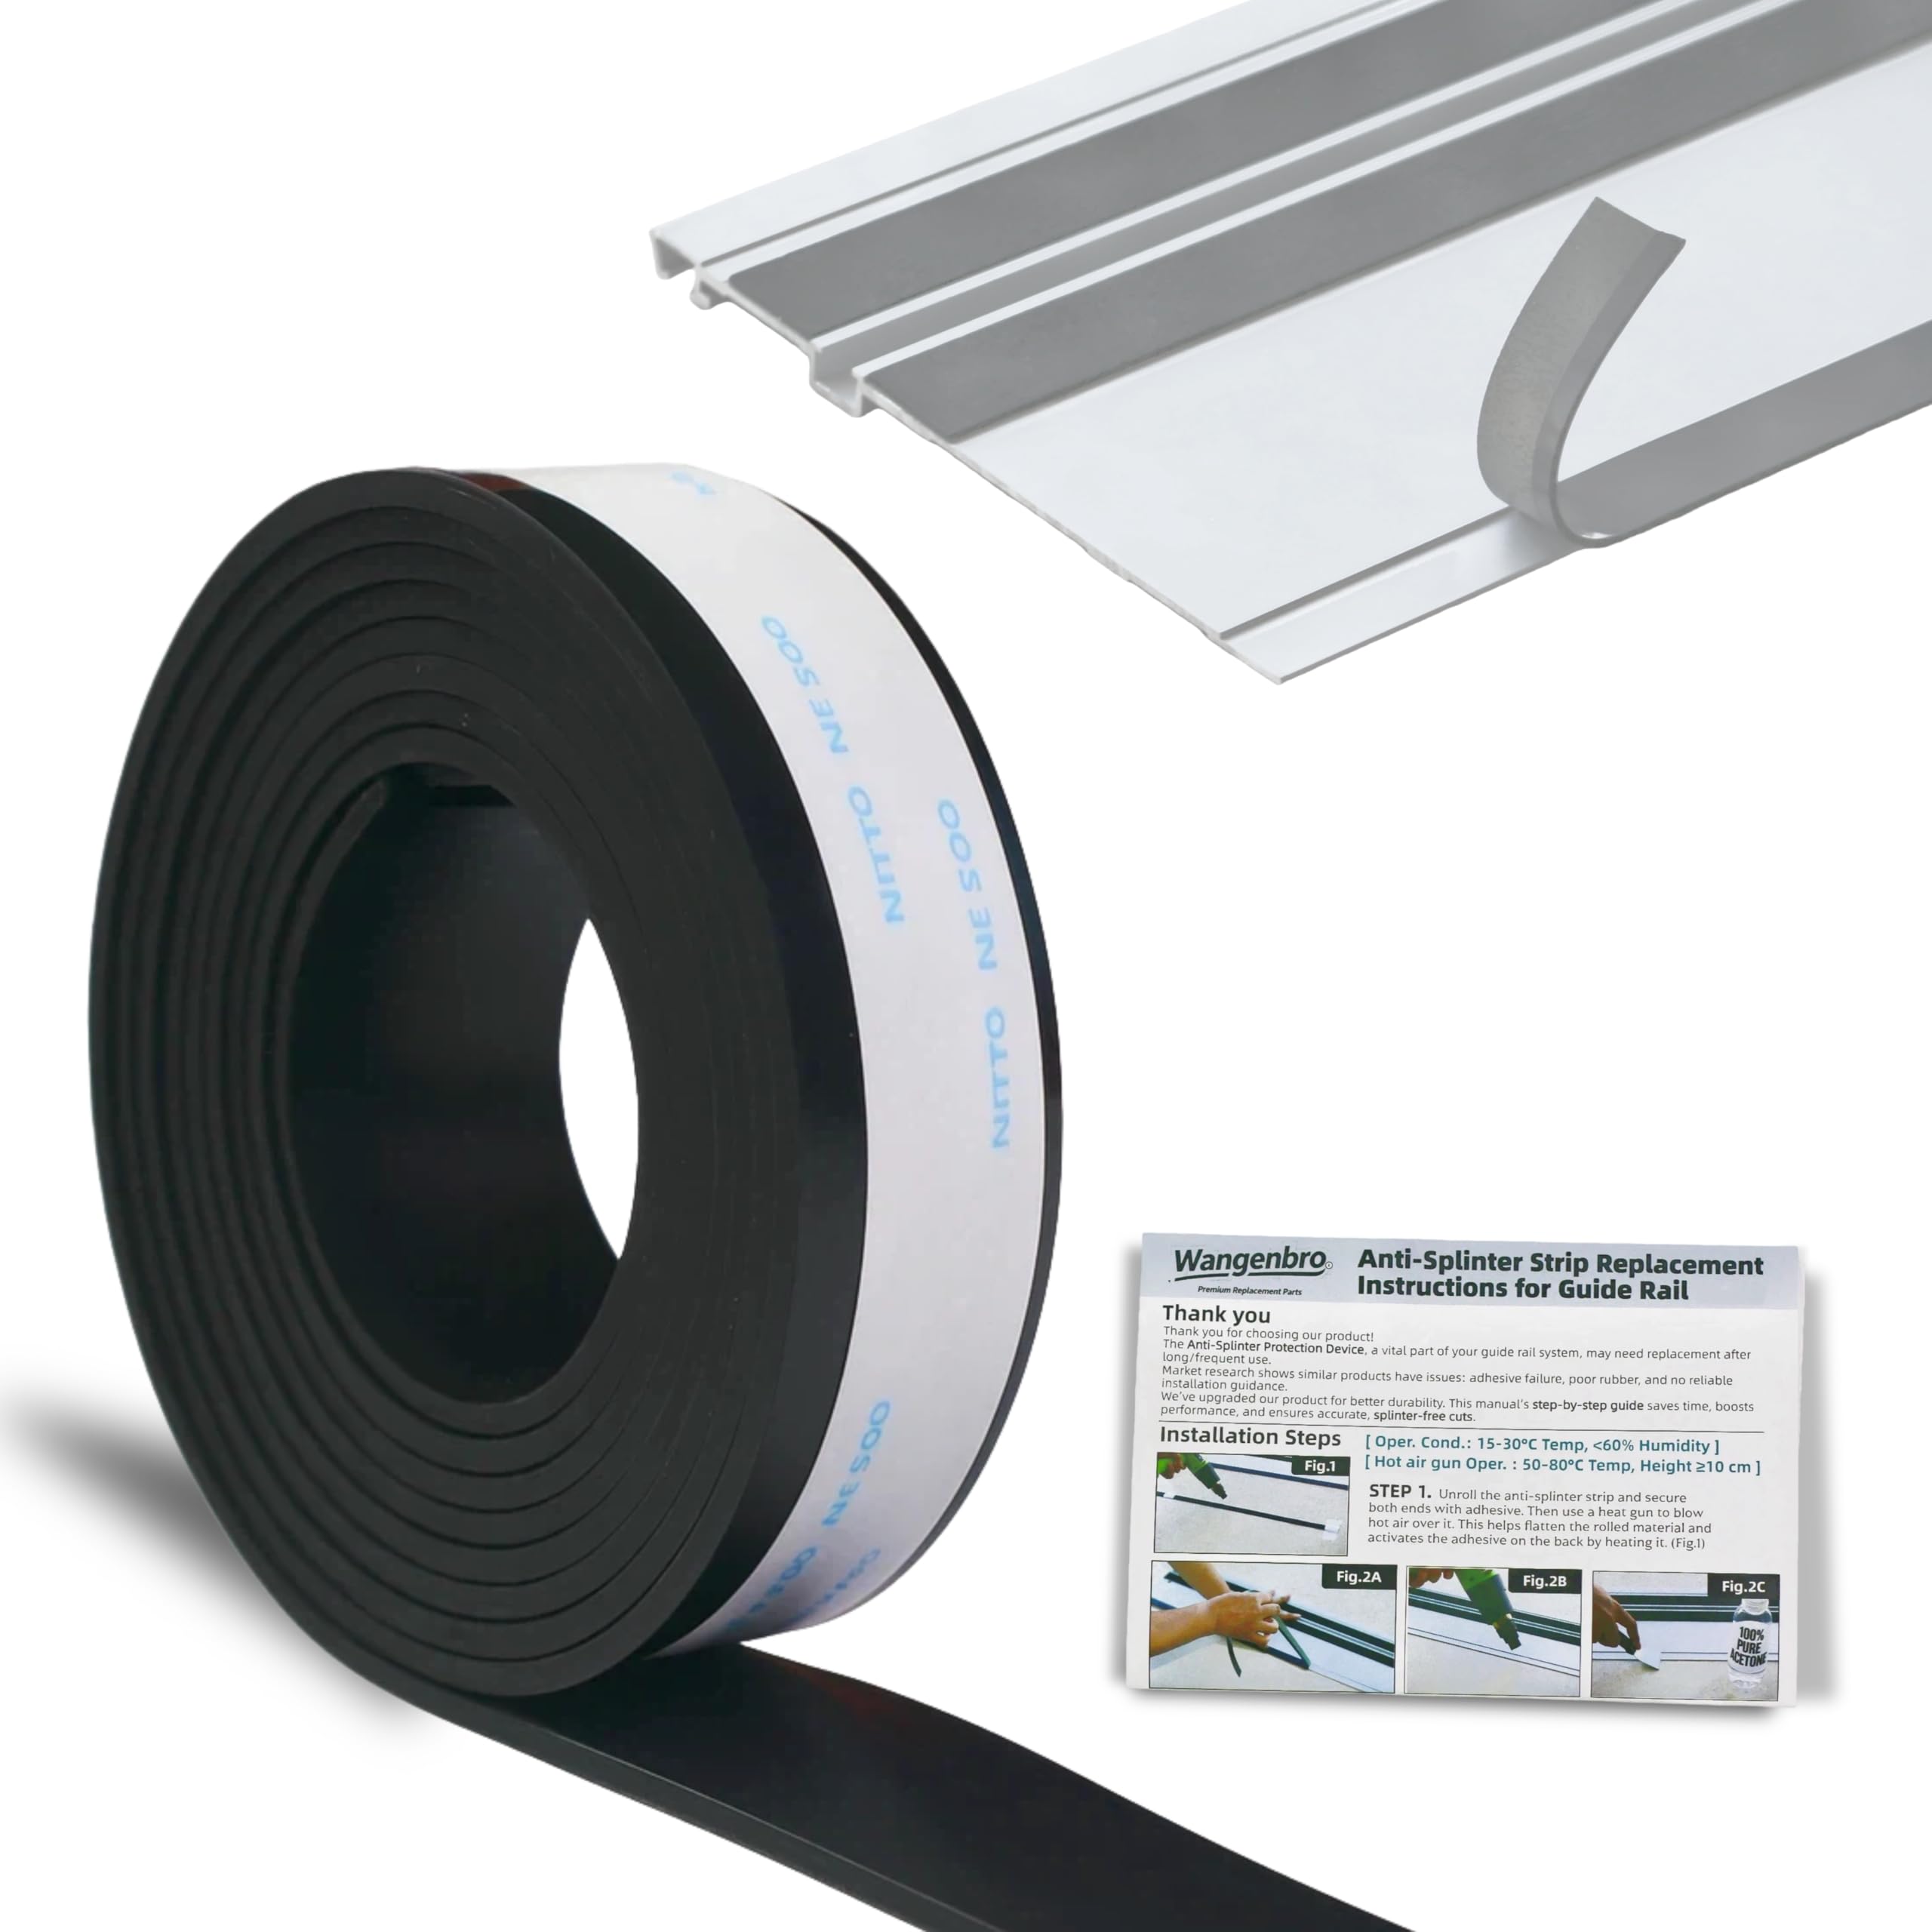
To fully grasp how a track saw works, you need to understand its core parts and how they interact. Each piece is engineered for precision, stability, and ease of use.
Saw Unit Design
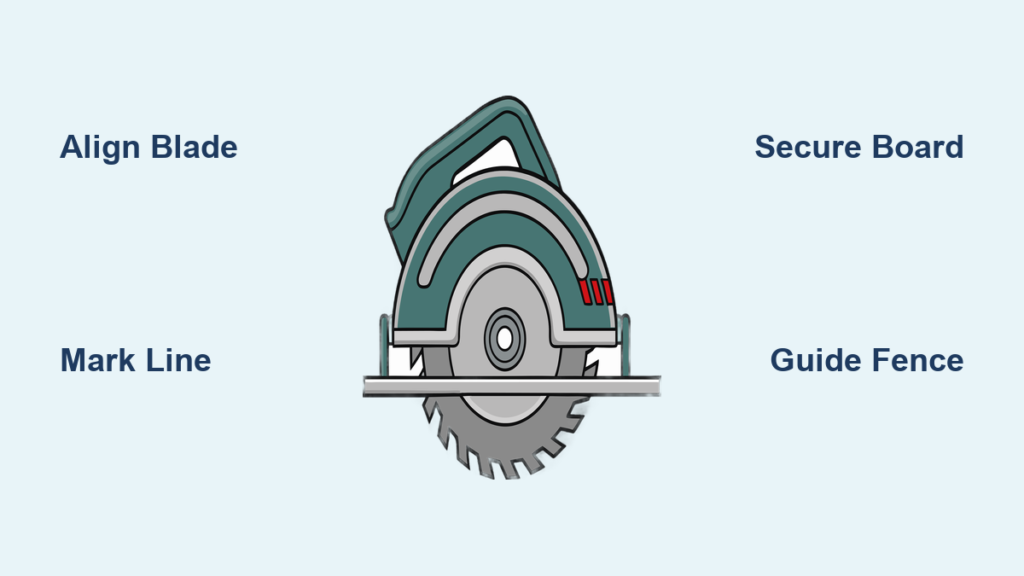
The motorized saw unit looks like a compact circular saw but is built specifically for rail-guided cutting. It mounts onto the track through guide rails or wheels on its base. Most models offer adjustable blade depth and bevel angles up to 45 degrees. The blade retracts into the housing when the saw stops, which improves safety. Many units also include an electric brake that stops the blade quickly after you release the trigger.
Track and Rail System
The track is a rigid aluminum beam with a non-slip bottom and a groove that matches the saw’s guide rails. Tracks range from 36 inches to 140 inches long and can be joined for extended cuts. Built-in measurement scales help you position the track precisely. You secure the track to your workpiece using clamps or built-in hold-downs to prevent any movement during cutting.
Anti-Splinter Strip
A standout feature is the anti-splinter strip, a thin insert running along the cut line on the underside of the track. As the blade exits the material, this strip supports the wood fibers and drastically reduces tear-out on the top surface. This makes the track saw perfect for cutting finished plywood, melamine, or veneered boards without ruining the face.
How the Track Saw Actually Cuts
The real magic happens when all components combine to produce a perfectly straight, clean cut. Here is how the process unfolds from setup to finish.
Mounting the Saw to the Track
Before cutting, attach the saw to the track by sliding the guide rails on the saw’s base into the track’s groove. Most models click or lock into place, which prevents any lateral play. Once secured, the saw can only travel forward and backward along the rail. This eliminates the side-to-side drift that plagues handheld circular saws.
Aligning the Cut Line
Position the track on your material so the blade will cut exactly where you need it. Use the track’s built-in scale or mark your cut line directly on the workpiece. Many tracks include offset indicators to help align the blade with your mark. Some advanced models let you reference the cut line from either side of the track for added flexibility.
Making the Cut
With the track clamped down and the saw aligned, lower the blade guard and start the motor. Slowly push the saw forward along the track. The guided motion keeps the blade on a perfectly straight path. Dust gets routed through a port to a vacuum, keeping your workspace clean. As the cut finishes, the blade retracts and brakes automatically for safe operation.
Why a Track Saw Beats a Circular Saw

A