Every woodworker eventually faces a dull or damaged blade that needs swapping out. Learning how to change a circular saw blade the right way protects you from injury and keeps your cuts clean and accurate. A worn blade can cause kickback, burn marks, and unnecessary strain on your saw’s motor.
This guide walks you through the entire process from start to finish. You will learn which tools to gather, how to lock the spindle safely, the correct way to remove and install a blade, and how to troubleshoot common problems along the way.
Safety Steps Before Changing a Circular Saw Blade
Skipping safety prep is one of the fastest ways to turn a simple task into a trip to the emergency room. A circular saw blade spins at thousands of RPMs, so even a brief slip can cause serious harm.
Disconnect the Power Source
Unplug a corded saw from the outlet. For cordless models, slide the battery out completely. This single step eliminates the risk of an accidental startup while your hands are near the blade.
Wear Proper Protective Gear
Put on cut resistant work gloves to guard against sharp teeth. Add safety glasses to protect your eyes from debris or metal shavings that may fall during the swap.
Let the Blade Cool Down
If you were just cutting, give the blade at least ten minutes to cool. Hot metal expands and can burn bare skin, making removal harder and more dangerous.
Tools Needed to Change a Circular Saw Blade
Most circular saws ship with everything you need tucked right onto the tool. Still, having backups on hand prevents frustrating delays.
Onboard Blade Wrench
Check the housing or base of your saw for a small wrench tucked into a holder. This wrench is sized perfectly for your saw’s arbor nut and is the safest option.
Backup Wrench or Socket
If the original wrench is missing, a standard combination wrench in the correct size works just as well. Most circular saws use a 5/8 inch or 1/2 inch nut.
Rag or Wood Block for Locking
A thick shop rag or a scrap piece of wood helps hold the blade still while you loosen the nut. Some woodworkers prefer a dedicated blade lock tool for this step.
Identify Key Parts of Your Circular Saw
Knowing the parts you will touch makes the job faster and helps you avoid damaging sensitive components.
Locate the Blade Guard
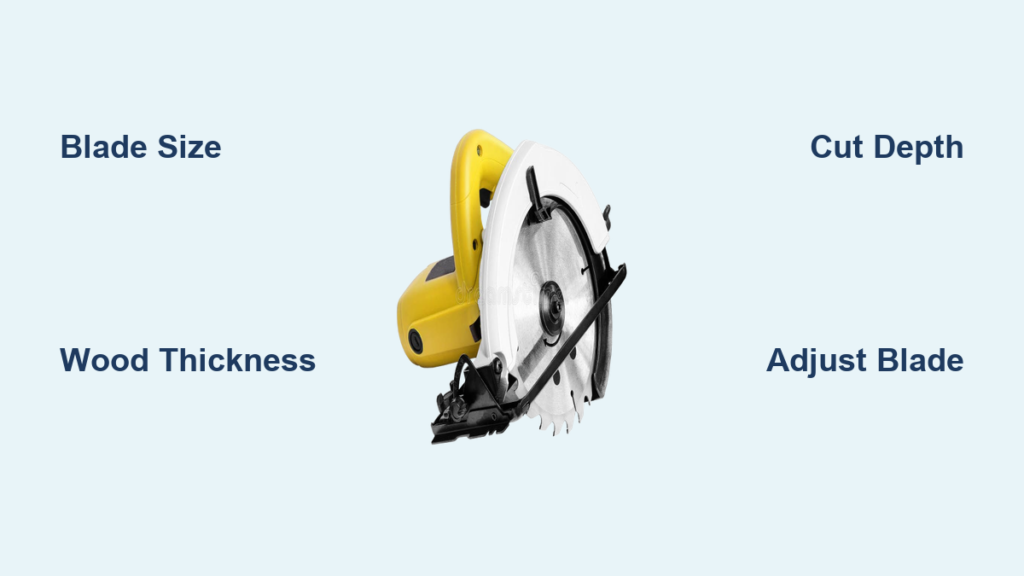
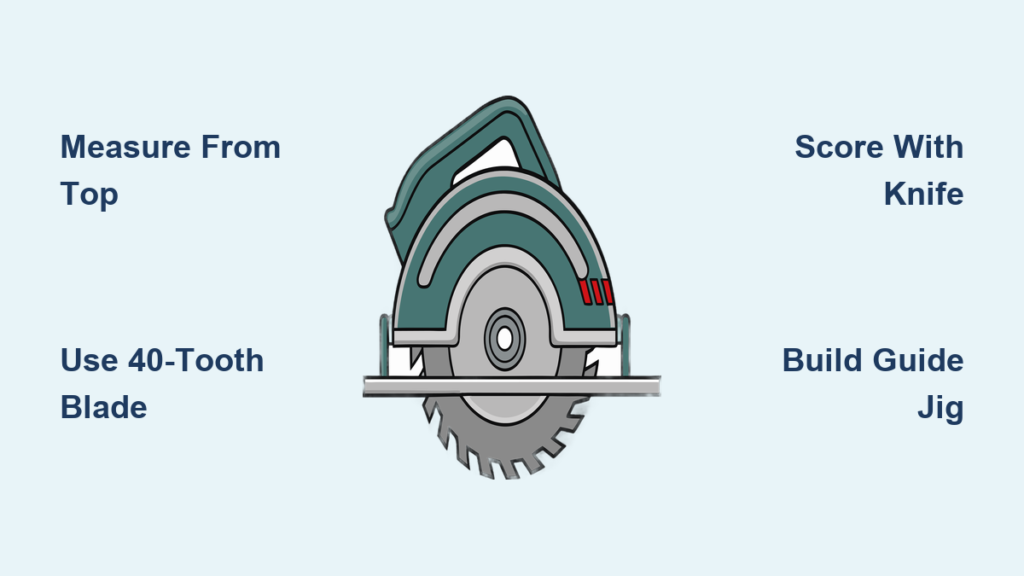
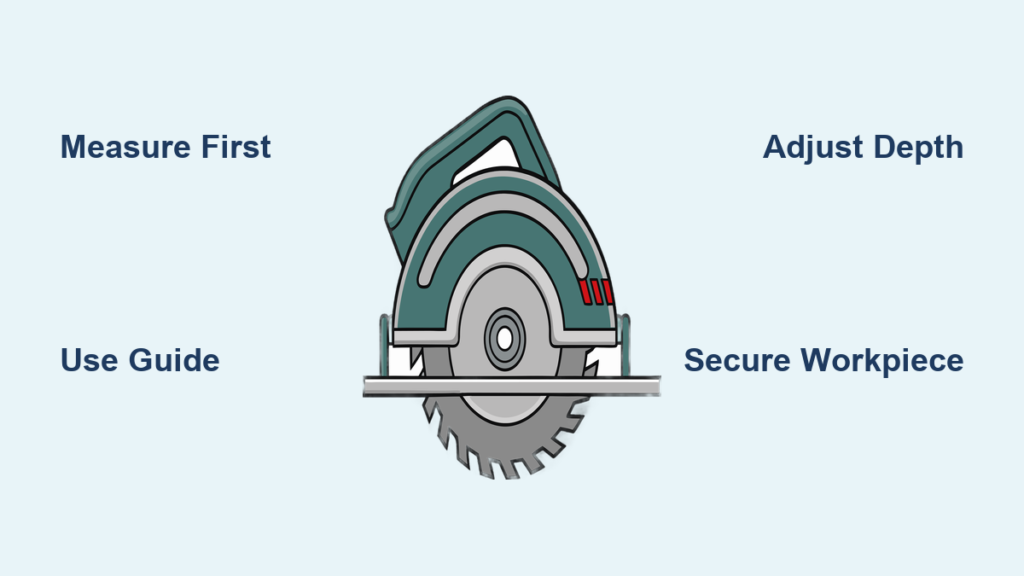
The blade guard is the spring loaded metal or plastic cover that retracts during cuts. Pull it back manually to expose the blade during replacement.
Find the Arbor and Arbor Nut
The arbor is the central shaft the blade mounts onto. The arbor nut threads onto this shaft and holds everything in place. Many saws use a left hand thread, which tightens counterclockwise.
Check the Rotation Arrow
Look for an arrow printed on the blade or stamped on the saw housing. This arrow shows the direction the blade spins during operation and guides proper installation.
Lock the Spindle Before Removing the Blade
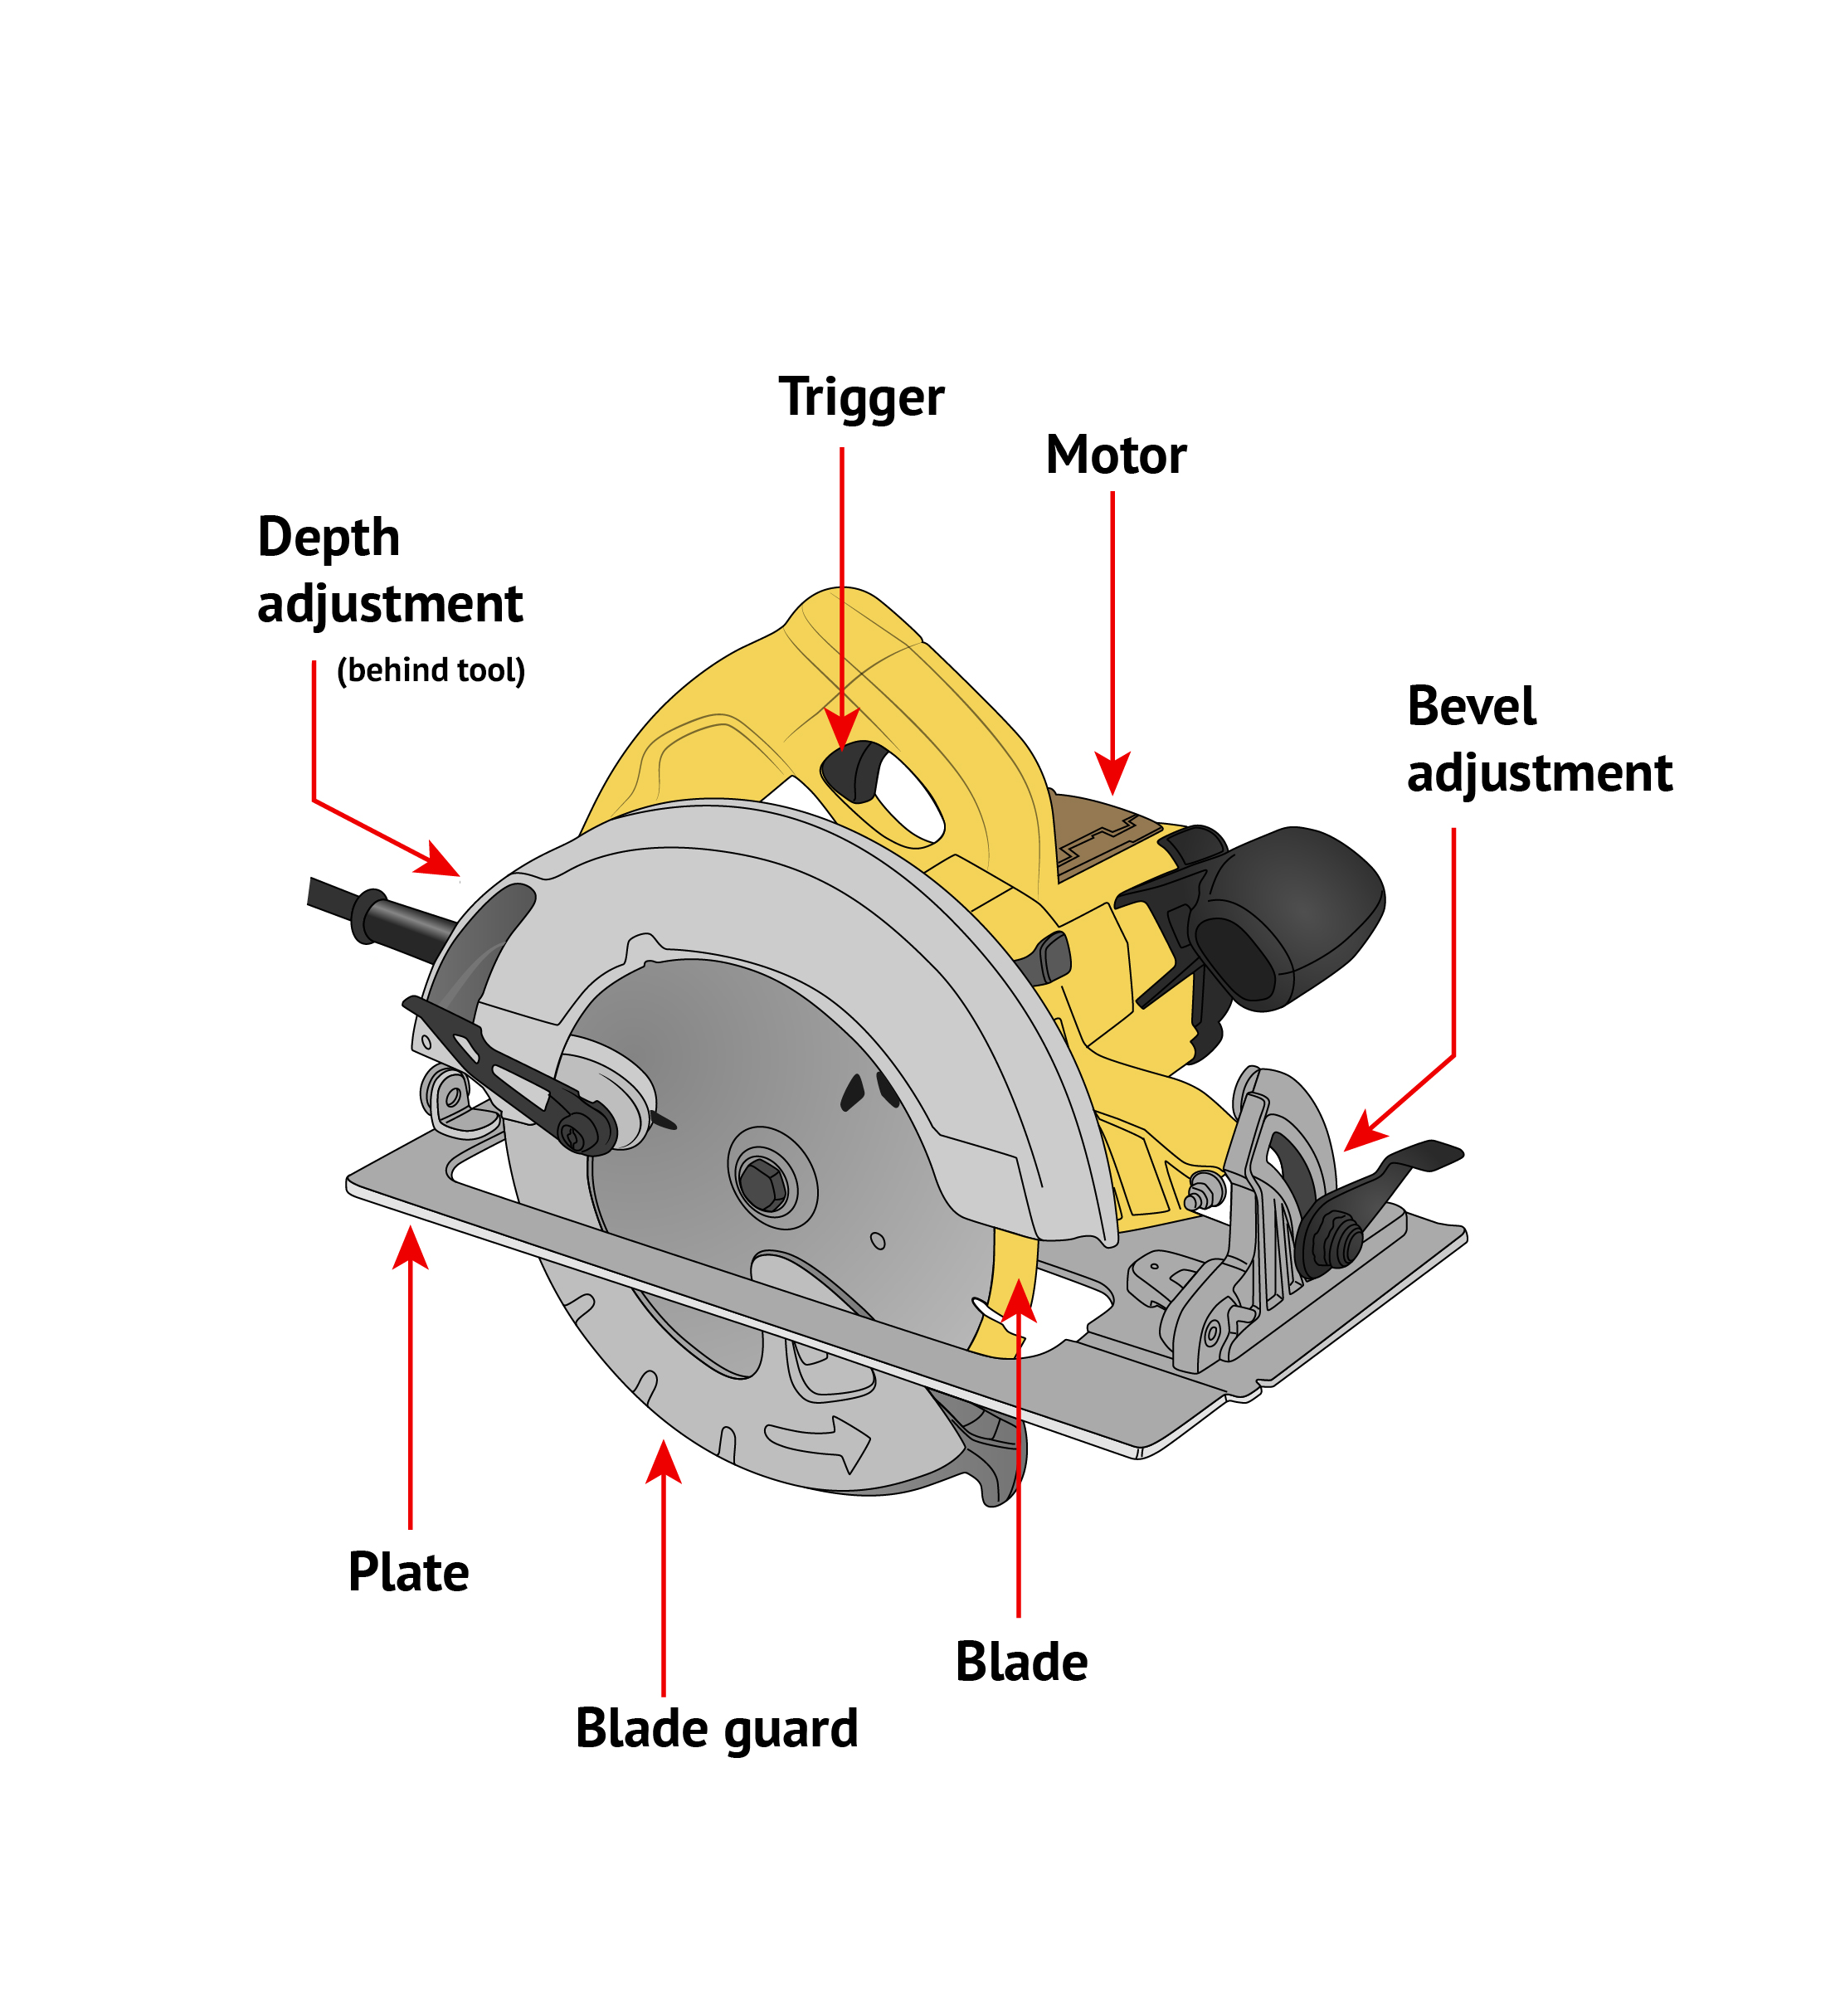
You cannot loosen the arbor nut while the blade spins freely. Locking the spindle keeps everything stationary so your wrench can do its job.
Use the Spindle Lock Button
Most modern saws include a spindle lock button near the motor housing. Press and hold it while turning the wrench to keep the arbor from rotating.
Lock with a Wood Block or Wrench
If your saw lacks a lock button, wedge a scrap of wood between the blade teeth and the saw base. This jams the blade in place so you can apply force to the nut.
Avoid Clamping the Blade in a Vise
Never grip the blade itself in a vise. This bends the plate and ruins the blade. Always lock through the spindle or tooth contact point instead.
Remove the Old Circular Saw Blade

With the saw powered down and the spindle locked, you are ready to take the old blade off.
Loosen the Arbor Nut
Turn the wrench clockwise to loosen the nut if your saw uses a left hand thread. This feels backward at first, so remind yourself that the usual rule does not apply here.
Slide Off the Outer Flange
Once the nut is free, lift it off along with the outer washer or flange. Set these parts on your workbench in the order you removed them so nothing gets lost.
Pull the Blade Off the Arbor
Grip the blade carefully and slide it straight off the shaft. Watch the teeth and set the old blade aside in a safe spot, ideally inside its original packaging or a blade sleeve.
Choose the Right Replacement Blade

Installing the wrong blade ruins cuts and can damage your saw. Match the new blade to both your tool and your material.
Match the Diameter
Most handheld circular saws accept a 7-1/4 inch blade. Check your saw’s manual for the exact size, and never try to force a larger blade onto a smaller arbor.
Confirm the Arbor Size
The standard arbor size is 5/8 inch. Some blades include reducer rings for smaller shafts, so verify the fit before you start the swap.
Pick the Right Blade Type
• Wood cutting blades have high tooth counts for smooth finishes
• Plywood and melamine blades use fine teeth to reduce tear out
• Metal cutting blades feature carbide tips designed for ferrous materials
• Masonry blades use diamond or abrasive grits for concrete and tile
Verify Tooth Direction
The teeth must point upward toward the front of the saw when installed. This matches the rotation direction and keeps the blade cutting instead of scraping.
Install the New Circular Saw Blade
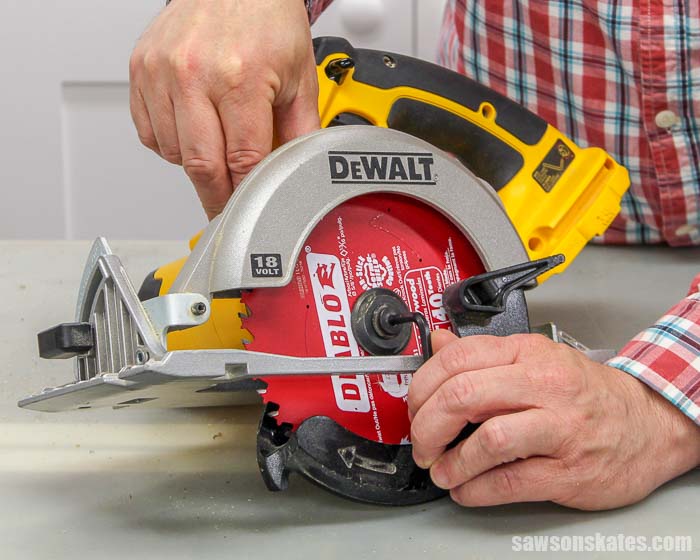
Proper installation keeps the blade stable during cuts and prevents dangerous wobble.
Slide the Blade Onto the Arbor
Align the blade so the teeth point upward at the front. Many blades include a printed arrow or label that reads “this side up” to guide you.
Replace the Outer Flange
Slide the washer or flange back onto the arbor until it sits flush against the blade. A loose flange causes vibration and poor cut quality.
Hand Tighten the Arbor Nut
Thread the nut on by hand first to avoid cross threading. Once it is seated, you can finish tightening with the wrench.
Tighten and Secure the New Blade
A loose blade is a serious safety hazard. Take your time with the final tightening step.
Lock the Spindle Again
Re engage the spindle lock or wedge the wood block back into place. The blade must stay still while you apply torque to the nut.
Tighten the Nut Firmly
Turn the wrench counterclockwise to tighten a left hand threaded nut. Apply firm pressure but stop once the nut is snug. Over tightening strips threads or cracks the flange.
Spin the Blade by Hand
Give the blade a gentle spin to confirm it rotates freely. Listen and feel for any rubbing against the guard or wobble in the plate.
Test the Saw After a Blade Change
Never start a real project without verifying the installation first.
Reconnect the Power
Plug the cord back in or slide the battery into place. Keep your hands clear of the blade during this step.
Make a Test Cut in Scrap Wood
Run a short cut through a piece of scrap lumber. Listen for unusual sounds and watch for any sign of wobble or binding.
Inspect the Cut Quality
A clean, smooth cut with minimal burning means the blade is seated correctly. Rough edges or smoking wood usually point to a dull blade or poor installation.
Troubleshooting Common Blade Change Problems
Even experienced woodworkers run into hiccups. Here is how to handle the most common issues.
Blade Will Not Fit on the Arbor
Check for a forgotten washer or debris on the shaft. Wipe the arbor clean with a dry cloth before trying again.
Arbor Nut Will Not Tighten
You may be threading it the wrong way. For left hand threads, turn the nut counterclockwise to tighten. Always start by hand to confirm the direction.
Blade Rubs Against the Guard
A warped blade or misaligned flange usually causes this. Inspect both parts and replace anything that looks bent or damaged.
Saw Vibrates During Use
Excess vibration often means a loose nut or a damaged flange. Stop the saw immediately and recheck every component before resuming work.
Maintenance Tips to Extend Blade and Saw Life
A little care between blade changes keeps your saw running smoothly for years.
Clean the Arbor During Every Swap
Wipe the shaft with a solvent dampened rag to remove resin, sap, and dust. A clean arbor seats the blade more securely.
Inspect Flanges for Wear
Check both the inner and outer flanges for cracks, chips, or warping. Replace damaged flanges right away to prevent blade wobble.
Store Spare Blades Safely
Keep unused blades in their original cases or in protective sleeves. This prevents dulling, rust, and accidental cuts when reaching into your toolbox.
Signs It Is Time to Replace Your Circular Saw Blade
Knowing when to swap blades saves time and improves cut quality.
Dull or Chipped Teeth
If the saw burns wood instead of cutting cleanly, the teeth are likely dull. Chipped or missing teeth are an obvious sign as well.
Slow Cutting Speed
Needing extra force to push the saw through a cut usually means a dull blade. Sharp teeth slice through material with minimal pressure.
Visible Rust or Warping
Rust weakens the steel and throws off balance. A warped blade causes dangerous vibration and should be replaced immediately.
Frequently Asked Questions About Changing a Circular Saw Blade
Do all circular saws use the same size blade?
No. Most handheld models use 7-1/4 inch blades, but smaller and larger saws exist. Always check your owner’s manual for the exact diameter and arbor size before buying a replacement.
Which way do you turn the nut to remove a circular saw blade?
Most circular saws use a left hand threaded arbor nut, which means you turn it clockwise to loosen. A few models use standard right hand threads, so confirm by checking your manual.
Can you change a circular saw blade without a wrench?
It is not recommended. Using the correct wrench protects the nut and prevents rounding off the edges. In a pinch, a properly sized adjustable wrench can work, but always use the onboard tool when possible.
How often should you change a circular saw blade?
There is no fixed schedule. Replace the blade whenever cuts become rough, the saw struggles through material, or you notice visible damage like chipped teeth or rust.
Is it safe to change a blade while the saw is plugged in?
Never change a blade while the saw has power. Always unplug corded models or remove the battery from cordless saws before starting any blade swap.
What happens if you install the blade backward?
A backward blade cuts poorly, produces excessive heat, and increases the risk of kickback. The teeth must always point upward toward the front of the saw to match the rotation direction.
Key Takeaways for Changing a Circular Saw Blade Safely
Changing a circular saw blade is a quick task that pays off in better cuts and fewer injuries. Always disconnect power, lock the spindle, and verify the rotation direction before installing a new blade. Match the blade to your material and inspect the flanges during every swap.
Your next step is to gather your tools, pick up a fresh blade suited to your upcoming project, and run a test cut before tackling the real workpiece.