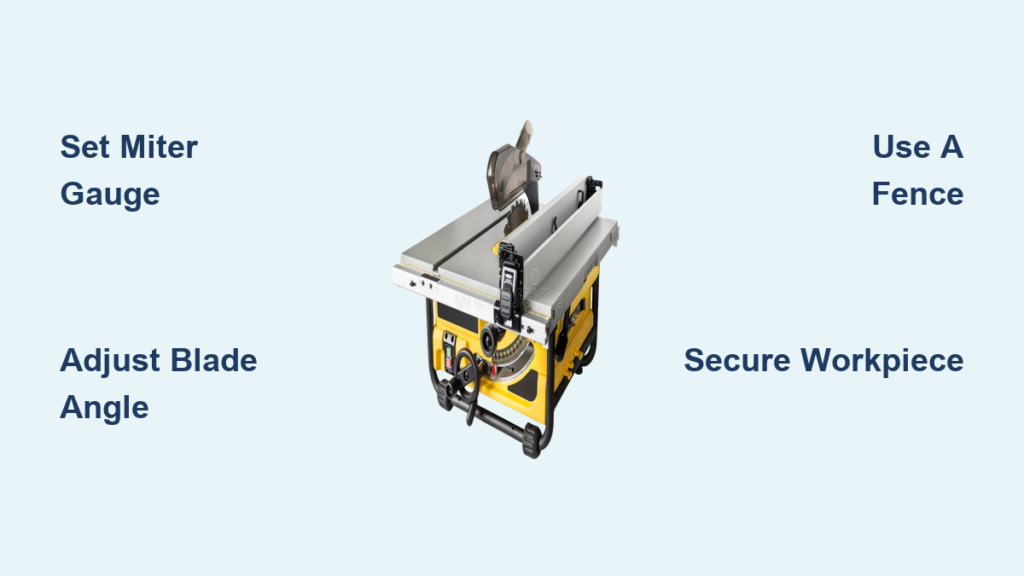
Cutting plywood on a table saw can feel overwhelming when you’re staring down a full 4×8 sheet. The size, weight, and layered construction make sheet goods far trickier than standard lumber. Without proper technique, you risk dangerous kickback, splintered edges, or inaccurate dimensions that ruin your project.
This guide breaks down the entire process into manageable steps. You’ll learn how to set up your workspace, choose the right blade, prevent tear-out, and execute accurate cuts even when your saw’s rip capacity falls short. Whether you’re building cabinets, shelves, or shop furniture, these proven methods will help you cut plywood on a table saw safely and confidently.
Essential Safety Setup Before Cutting Plywood on a Table Saw
Large sheets demand respect because improper handling leads to loss of control, kickback, or serious injury. Establishing a safe cutting environment is the first step toward successful results.
Wear Required PPE
Always wear safety goggles and hearing protection before starting. Plywood sawdust contains fine particles and resins that irritate eyes and lungs. Consider a dust mask if your shop ventilation is poor. Avoid loose clothing and gloves, which can catch on moving parts.
Keep Hands Clear of the Blade
Never place your hands near the blade path. Use push sticks, push blocks, and sacrificial pushers when guiding narrow strips or finishing the final inches of a cut. Stand slightly to the side of the blade rather than directly behind the workpiece to avoid the kickback trajectory.
Install Safety Components
Verify that the blade guard, splitter, and anti-kickback pawls are in place and properly aligned. These components prevent the wood from pinching the blade or lifting during the cut. If you use a zero-clearance insert, confirm the splitter still aligns with the blade path.
Build a Full-Support System for Your Plywood

Without adequate support, plywood sags, binds, and kicks back. A stable infeed and outfeed system is essential when you cut plywood on a table saw.
Configure Outfeed Support
Extend a sturdy outfeed surface at least four feet behind the saw. The height must match your table saw deck exactly to prevent the material from dipping or rising as it exits the cut. Dedicated tables, sawhorses, roller stands, or even milk crates all work if leveled properly.
Add Infeed Support
Place an infeed platform or sawhorse approximately three feet in front of the blade, centered on the cut path. This prevents the leading edge of the plywood from sagging before it reaches the blade, keeping the sheet flat through the entire cut.
Use a Two-Person Approach
Cutting full sheets alone increases risk significantly. A helper manages the trailing edge, preventing twist and maintaining alignment. If you must work solo, over-support the outfeed side and proceed slowly with extreme caution.
Choose the Right Blade to Cut Plywood on a Table Saw

Blade selection directly impacts cut quality. A poor blade guarantees tear-out and rough edges that require extensive sanding.
Select a High-Tooth Finishing Blade
Opt for a 40 to 50 tooth ATB (alternate top bevel) blade designed for sheet goods. Brands like Freud, Diablo, and Forrest offer finishing or plywood blades that minimize splintering. Avoid standard 24-tooth combo blades because they chip veneer badly. For final cuts on visible surfaces, a 60-tooth ultra-finish blade delivers near-laser edge quality.
Set Correct Blade Height
Adjust the blade so it extends roughly 1/8 inch above the plywood thickness. Too high increases tear-out and kickback risk. Too low causes friction, burning, and poor chip ejection. Use a ruler or caliper for precision rather than eyeballing the setting.
Install a Zero-Clearance Insert

Standard throat plates leave a wide gap around the blade, allowing veneer fibers to tear out on the bottom surface. A zero-clearance insert eliminates this problem.
Build or Buy the Insert
Pre-made inserts are available for most table saw models. For a DIY option, cut a slot in a scrap phenolic or hardwood plate using a thin-kerf blade. Align the slot with the blade at full height. The insert should fit snugly without binding. Replace or re-cut the slot if it becomes loose or chipped over time.
Prevent Splintering and Tear-Out on Plywood

Plywood’s thin veneers splinter easily. Smart preparation techniques combat this common problem.
Apply Masking Tape
Place painter’s tape along the cut line on the top face (the good side). Score through the tape with a utility knife before cutting to further reduce chipping. Works best with sharp blades and steady feed rates. Remove tape immediately after cutting to avoid adhesive residue.
Use a Backing Board
Place a scrap piece of ½-inch plywood or MDF underneath the workpiece. It supports the bottom veneer as the blade exits, preventing blowout. Clamp or weigh it down to prevent shifting. Ideal for critical visible surfaces like cabinet sides.
Maintain a Steady Feed Rate
Push the plywood at a consistent, moderate pace. Let the blade cut rather than forcing it. Rushing causes burning and tear-out. Going too slow can scorch the wood and leave rough marks.
Execute the Cut Safely Step by Step
Now that everything is set up, it’s time to cut. Follow this sequence for control and precision.
Align and Position the Sheet
Place the plywood on the supports with the good side up. Align the cut line with the blade and double-check that the sheet lies flat without twisting. Use a straightedge or framing square to verify alignment. Clamp or weight the front edge if needed.
Start the Cut
Turn on the saw and wait for full RPM before feeding. Your right hand grabs the far corner, pulling the sheet into the blade. Your left hand pushes the side toward the back of the fence, maintaining pressure. Keep downward pressure on the table and never lift or tilt the sheet.
Transition Through the Midpoint
As the sheet passes the midpoint, shift your left hand to the back corner, pushing diagonally toward the fence. Maintain contact until the sheet clears the fence rail. This transition keeps the material aligned throughout the cut.
Finish with a Push Block
When the trailing edge nears the blade, switch to a 4-inch scrap block as a pusher. This keeps your hands safely away during the final inches. Never let the narrow offcut bind between the blade and fence. Remove it only after the saw stops completely.
Handle Wide Cuts with Limited Rip Capacity
:max_bytes(150000):strip_icc()/WD316268-f79f9daee6a745b6a61938e7a51edc24.jpg)
If your fence maxes out at 24 inches but you need a 36-inch wide piece, use the waste-side fence method to cut plywood on a table saw beyond its normal capacity.
Calculate Fence Distance
Subtract the maximum fence reach from your desired width, then subtract the blade kerf.
- Desired width: 36 inches
- Max fence reach: 24 inches
- Difference: 12 inches
- Minus 1/8 inch kerf: 11 7/8 inch fence setting
Position the fence 11 7/8 inches from the blade on the waste side of the cut. Run the sheet through and the finished piece will measure 36 inches wide.
Know the Limitation
This method works best when the outer edge doesn’t need to be perfectly straight or will be trimmed later. Always measure your actual blade kerf for accuracy.
Break Down Large Sheets First
For maximum safety and control, cut full sheets into smaller sections before using the table saw.
Use a Circular Saw with a Guide
Support the sheet on 2x4s or sawhorses. Clamp a straightedge guide, such as an aluminum level or dedicated track, to the cut line. Use a 40-tooth carbide blade and cut with the good side down because circular saws splinter the top surface. Cut slightly oversized, about 1/4 inch larger than the final size.
Finish on the Table Saw
Bring the smaller pieces to the table saw for precise final rips. Full support becomes easier and control improves dramatically. This two-step process is recommended for beginners and ideal for small shops with limited space.
Build a DIY Track Saw for Precision
For frequent plywood work, create a homemade track saw. This low-cost alternative delivers factory-straight cuts without expensive equipment.
Construct a Zero-Clearance Track
Cut two straight 4-inch strips from scrap plywood. Glue them parallel to the edge of a 3/8-inch base sheet. Clamp the assembly and let it cure overnight to ensure rigidity.
Calibrate to Your Saw
Place the circular saw’s sole plate against the inner strip. Make a cut along the base edge to align the track to your saw’s exact path. The base now becomes a guided track. Use clamps to secure the track to the plywood along your cut line for perfectly straight results every time.
Maintain Your Setup for Long-Term Performance
A clean, well-maintained saw performs better and lasts longer.
Clean the Blade Regularly
Plywood resins build up on teeth, causing friction and burning. Use a commercial blade cleaner or citrus-based degreaser every few sheets to maintain cut quality.
Keep the Table Smooth
Wipe down the table surface and miter slots regularly. Remove sawdust buildup and wax the surface occasionally to reduce friction when sliding large sheets.
Check Fence Alignment
Use a drafting square or dial indicator to verify the fence is parallel to the blade. Misalignment causes binding and inaccurate cuts that ruin material.
Frequently Asked Questions About Cutting Plywood on a Table Saw
What blade should I use to cut plywood on a table saw?
Use a 40 to 50 tooth ATB finishing blade designed for sheet goods. Higher tooth counts reduce splintering and produce smoother edges. Avoid standard 24-tooth combo blades because they chip plywood veneer badly.
How do I prevent tear-out when cutting plywood?
Combine three techniques for best results. Apply painter’s tape along the cut line, use a zero-clearance insert, and place a backing board underneath the workpiece. A sharp high-tooth blade and steady feed rate also minimize splintering.
Can I cut a full 4×8 sheet on a table saw alone?
It is possible but risky. Full sheets exceed most table saw rip capacities and require extensive outfeed support. A two-person approach is strongly recommended for safety. If working solo, use the breakdown method with a circular saw first to reduce sheet size.
What is the waste-side fence method?
This technique lets you cut widths larger than your fence capacity. Set the fence on the waste side at a distance equal to your desired width minus the maximum fence reach minus the blade kerf. The finished piece emerges at your target dimension.
How should I set the blade height for plywood?
Set the blade so it extends approximately 1/8 inch above the plywood thickness. This minimizes blade exposure, reduces tear-out on the bottom surface, and lowers kickback risk. Use a ruler or caliper rather than estimating.
Is a track saw better than a table saw for plywood?
For full sheets with limited support, a track saw offers better safety and accuracy. However, the table saw delivers superior edge quality for final precision cuts. Many woodworkers use both: a track saw or circular saw for breakdown cuts and a table saw for finishing.
Key Takeaways for Cutting Plywood on a Table Saw Safely
Successful plywood cutting comes down to three fundamentals. First, support the entire sheet through the cut with proper infeed and outfeed tables or roller stands. Second, use a sharp high-tooth blade with a zero-clearance insert to minimize tear-out. Third, maintain controlled hand placement and use push blocks for the final inches of every cut.
Start with the breakdown method if you’re new to sheet goods. Cut full sheets into manageable sections with a circular saw and guide, then bring those pieces to the table saw for final precision. This approach builds confidence and dramatically reduces accident risk.
Ready to improve your plywood work? Set up your workspace this weekend using the support strategies outlined above, then practice on scrap pieces before tackling your next project.