Stainless steel is tougher than regular steel, and cutting it without the right approach leads to dull blades, warped metal, and rough edges. Many DIYers and fabricators struggle with work hardening, overheating, and inaccurate cuts when they first attempt to saw stainless steel. Knowing the correct tools, blades, and techniques makes the difference between a frustrating job and a clean, professional result.
This guide covers everything you need to know about sawing stainless steel, from selecting the right saw and blade to managing heat and staying safe. You will learn how to prevent common problems like blade dulling and material discoloration, plus how to get smooth, burr-free cuts on pipes, sheets, and solid stock. Whether you use an angle grinder, circular saw, or bandsaw, these steps will help you work efficiently and protect both your tools and your workpiece.
Choose the Right Saw Type
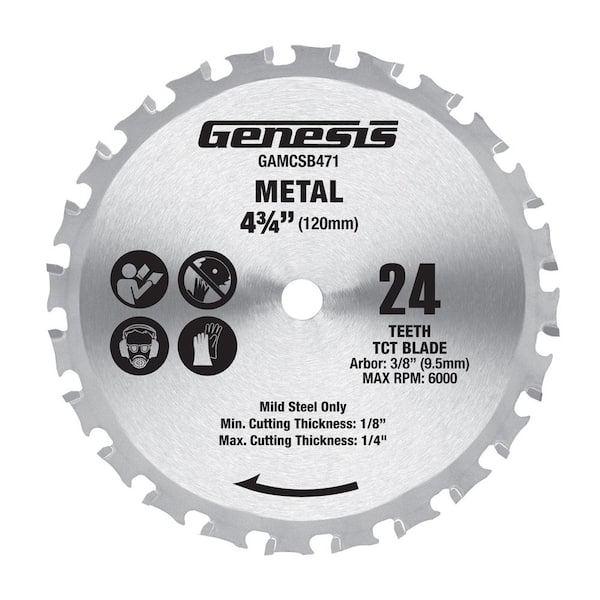
The saw you select determines cut speed, accuracy, and safety. Match your tool to the material thickness and the type of cut you need.
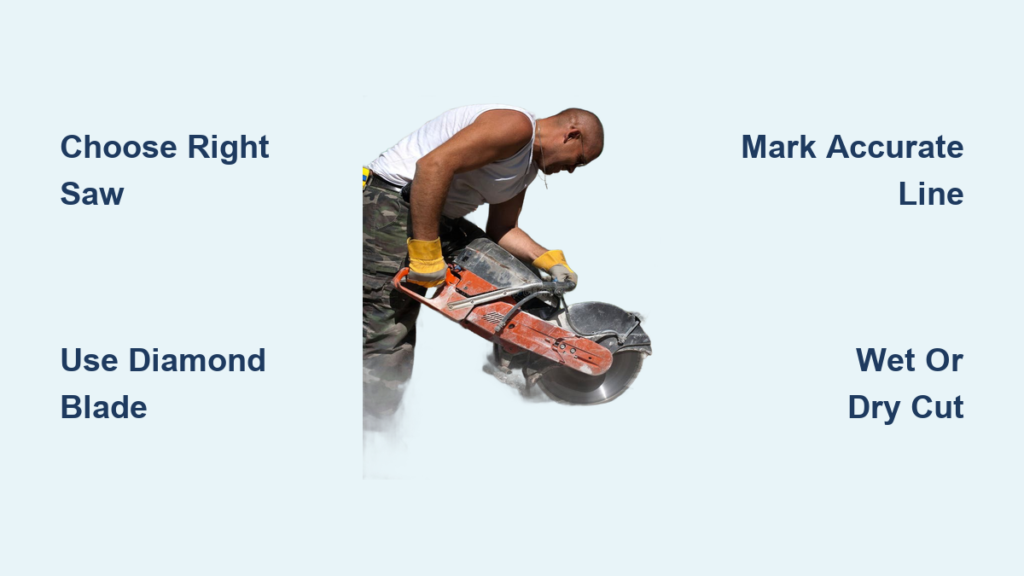
Use an Angle Grinder for Fast Cuts
An angle grinder fitted with a metal-cutting disc handles quick, rough cuts on pipes, sheets, and bars. Choose a 4.5-inch or 5-inch abrasive cutoff wheel rated specifically for stainless steel. Hold the grinder at a 90-degree angle and apply steady pressure without forcing the disc. Always wear safety goggles and a face shield because sparks fly aggressively during cutting.
Pro Tip: Cut in short bursts to keep the disc cool and prevent the metal from warping.
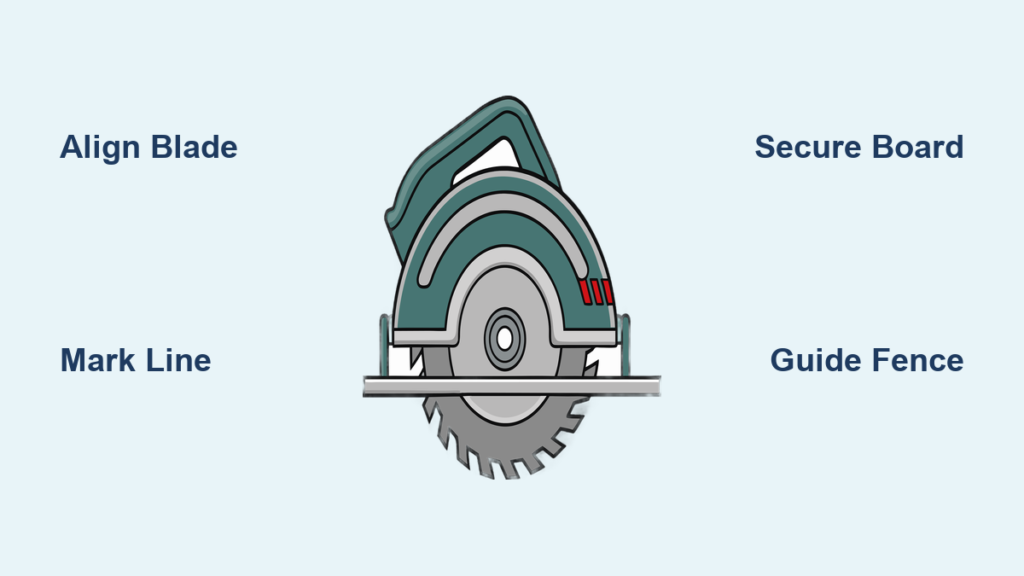
Opt for a Circular Saw with a Metal Blade
A portable circular saw with a carbide-tipped metal-cutting blade works well for straight cuts on thin stainless sheets or panels. Choose a saw with variable speed control and set it below 3,000 RPM to reduce heat buildup. Clamp the material securely and guide the saw along a straightedge for accuracy.
Warning: Never use a standard wood-cutting blade on stainless steel. This is dangerous and ruins the material.
Try a Bandsaw for Precision Work
A vertical or horizontal bandsaw with a bi-metal blade delivers clean, accurate cuts on tubing and solid stock. Pick a blade with 6 to 14 teeth per inch based on material thickness. Thicker stock needs fewer teeth per inch, while thinner sheets require more. Apply slow, consistent feed pressure for a smooth finish.
Expert Note: A bandsaw minimizes material waste and leaves burr-free edges with very little finishing work.
Select the Correct Blade
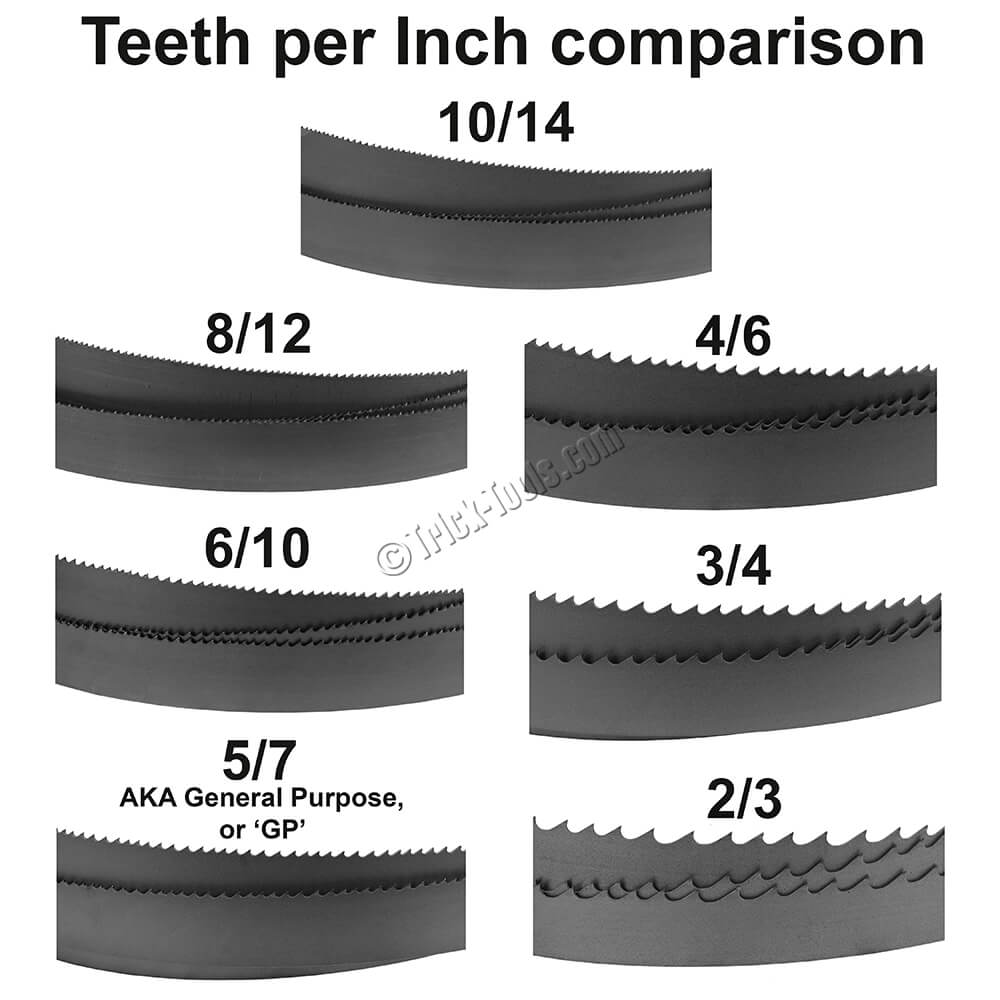
The wrong blade causes poor cuts, rapid dulling, and safety hazards. Match the blade material and tooth count to your stainless steel grade and thickness.
Use Bi-Metal Blades for Durability
Bi-metal blades combine high-speed steel teeth with a flexible backing, making them ideal for tough stainless alloys. They resist heat and outlast standard carbon steel blades. Look for blades labeled for stainless steel or high-nickel alloys.
Common Mistake: Using a general-purpose blade increases friction and shortens blade life significantly.
Pick the Right Teeth Per Inch
Teeth per inch (TPI) directly affects cut quality and speed. For thick stainless over 1/4 inch, choose 6 to 8 TPI for efficient chip removal. For thin sheets under 1/8 inch, select 14 to 18 TPI to avoid jagged edges and tooth snagging.
Quick Rule: More teeth produce smoother cuts. Fewer teeth produce faster cuts.
Avoid Carbide-Tipped Blades for Hand Saws
Carbide works well in power tools but is too brittle for manual hacksaws. Stick with bi-metal hacksaw blades featuring 18 to 32 TPI when cutting by hand. Apply steady, even strokes and use cutting fluid to reduce resistance.
Prevent Work Hardening
Stainless steel hardens when overheated or cut too quickly, making further work difficult and increasing strain on your tools.
Cut at Low Speed
High-speed friction generates heat, which triggers work hardening, especially in austenitic grades like 304 and 316. Always run your saw at the lowest effective speed. For angle grinders, use a variable-speed model and keep RPM under 6,000.
Visual Cue: If the metal turns blue near the cut line, it is too hot. Stop and let it cool before continuing.
Use Cutting Fluid or Lubricant
Applying a lubricant reduces heat, extends blade life, and improves cut quality. Use a sulfur-based cutting oil or a multipurpose metalworking fluid. For angle grinders, spray the area intermittently. On bandsaws, set up a drip system or apply fluid with a brush.
DIY Option: A 70/30 mix of motor oil and kerosene works in a pinch.
Take Intermittent Cuts
Instead of cutting continuously, make short passes with cooling breaks. This matters most for hand tools or tools without built-in coolant. Allow the blade and metal to cool for 15 to 30 seconds between passes.
Time Estimate: Intermittent cutting adds time but prevents costly mistakes and ruined blades.
Secure and Prepare the Material
Unstable workpieces shift during cutting, causing inaccuracies and safety risks. Proper setup ensures clean, safe results every time.
Clamp Steel Firmly in Place
Use heavy-duty C-clamps or a bench vise to secure the stainless steel. Make sure no part of the material can vibrate or move during cutting. For long cuts, add support on both sides of the cut line to prevent binding.
Safety Check: Keep your hands at least 6 inches from the cutting path at all times.
Mark the Cut Line Clearly
Use a metal scribe or fine-tip paint marker to draw your cut line. Regular pencils wear off quickly on metal. For straight cuts, tape a straightedge along the line as a visual guide.
Pro Tip: Double-check measurements before cutting. Stainless steel is expensive to replace.
Deburr Edges After Cutting
Fresh cuts often leave sharp burrs that can cause injuries. Use a deburring tool, file, or sanding disc to smooth the edges. This step also prepares the surface for welding or finishing.
Tool Suggestion: A 3-in-1 deburring tool handles inside, outside, and edge burrs efficiently.
Handle Heat Buildup Properly
Excessive heat damages both the blade and the stainless steel’s corrosion resistance. Managing heat is critical for quality results.
Watch for Discoloration
Blue, purple, or black discoloration along the cut edge signals overheating. This alters the metal’s microstructure and reduces rust resistance. If you see discoloration, slow down and increase lubrication immediately.
Consequence: Overheated zones may corrode faster over time, even on stainless steel.
Use a Heat-Resistant Blade
Blades with titanium or zirconium coatings withstand higher temperatures and resist galling. They cost more upfront but save money on frequent stainless steel work.
Note: Coated blades still require lubrication. Do not skip this step.
Let Tools Rest Between Cuts
After cutting through thick sections, shut off the saw and let the blade cool for at least one minute. This prevents thermal fatigue and blade warping.
Time-Saving Hack: Rotate between two blades while one cools to keep working without interruption.
Clean and Maintain Tools After Use
Stainless steel leaves behind fine, abrasive particles that damage tools if left uncleaned. A quick post-cut routine extends tool life.
Remove Metal Residue from Blades
After cutting, wipe blades with a dry cloth. For stubborn buildup, use a wire brush or blade cleaner. Avoid water-only rinsing because it can cause rust on carbon steel components.
Maintenance Tip: Store blades in a dry, lightly oil-coated state to prevent corrosion.
Inspect for Blade Wear
Check for chipped, missing, or worn-down teeth. A damaged blade increases cutting time and the risk of kickback. Replace blades at the first sign of significant wear.
Warning: Continuing to use a dull blade increases motor strain and heat generation.
Store Tools in a Dry Area
Moisture promotes rust on blades and saw components. Keep tools in a climate-controlled space or add silica gel packs to your toolbox.
Safety Essentials When Sawing Stainless
Safety should never be an afterthought when working with stainless steel. Cutting produces sparks, sharp edges, and harmful dust.
Wear Full Protective Gear
Always use the following equipment:
– Safety goggles or face shield to protect against sparks
– Cut-resistant gloves to guard against sharp edges
– Hearing protection because power tools exceed 85 dB
– Respirator or mask to filter metal fumes and dust
Pro Tip: Use a welding curtain to contain sparks in shared workspaces.
Work in a Ventilated Area
Metal fumes from heated stainless steel may contain chromium and nickel compounds. Work outdoors or in a space with exhaust ventilation to avoid inhaling these particles.
Health Risk: Prolonged exposure can cause respiratory issues over time.
Keep a Fire Extinguisher Nearby
Hot sparks can ignite flammable materials nearby. Have a Class ABC fire extinguisher within reach, especially when cutting near wood, paper, or solvents.
Alternative Methods for Thick Stainless
For heavy-duty applications, standard saws may not be enough. Consider these specialized approaches for demanding jobs.
Use a Plasma Cutter for Thick Sections
Plasma cutters slice through stainless steel over 1/4 inch thick quickly and cleanly. They use ionized gas and high heat to deliver precise cuts with minimal finishing. You will need a compressed air source and proper grounding.
Limitation: Not ideal for very thin sheets because of warping risk.
Try a CNC Machine for Repeats
For multiple identical cuts, a CNC router or laser cutter ensures unmatched precision. Input your design once and automate the process. This works best in industrial or well-equipped workshop settings.
Cost Factor: High initial investment but saves significant time on repeat jobs.
Waterjet Cutting for Delicate Jobs
Waterjets use high-pressure water mixed with abrasives to cut stainless without heat. This prevents warping and maintains material integrity, making it perfect for intricate designs or heat-sensitive applications.
Drawback: Slower and more expensive than mechanical sawing methods.
Frequently Asked Questions About Sawing Stainless Steel
What is the best saw for cutting stainless steel?
The best saw depends on your project. A bandsaw with a bi-metal blade offers the cleanest, most accurate cuts on tubing and solid stock. An angle grinder works best for fast, rough cuts on pipes and bars. A circular saw with a metal-cutting blade handles straight cuts on thin sheets.
Can you use a regular hacksaw to cut stainless steel?
Yes, but you need a bi-metal hacksaw blade with 18 to 32 TPI. Use steady, even strokes and apply cutting fluid to reduce friction. Expect slower cutting times compared to power tools, especially on thicker material.
Why does stainless steel get hard when cutting?
Stainless steel work hardens when friction and heat build up during cutting. The heat changes the metal’s structure, making it harder and more difficult to cut. Low cutting speeds, lubrication, and intermittent cuts prevent this problem.
What cutting fluid works best on stainless steel?
Sulfur-based cutting oil or multipurpose metalworking fluids work best on stainless steel. A 70/30 mix of motor oil and kerosene is a common DIY alternative. The fluid reduces heat, extends blade life, and improves cut quality.
How do you prevent stainless steel from discoloring when cutting?
Keep cutting speeds low, use plenty of lubricant, and take intermittent cuts to allow cooling. If you see blue, purple, or black discoloration, stop immediately and let the metal cool. Discoloration means the metal has overheated and lost some corrosion resistance.
Is it safe to cut stainless steel indoors?
Only with proper ventilation. Stainless steel cutting produces fumes containing chromium and nickel compounds. Work outdoors or in a space with strong exhaust ventilation. Always wear a respirator rated for metal fumes to protect your lungs.
Key Takeaways for Sawing Stainless Steel Successfully
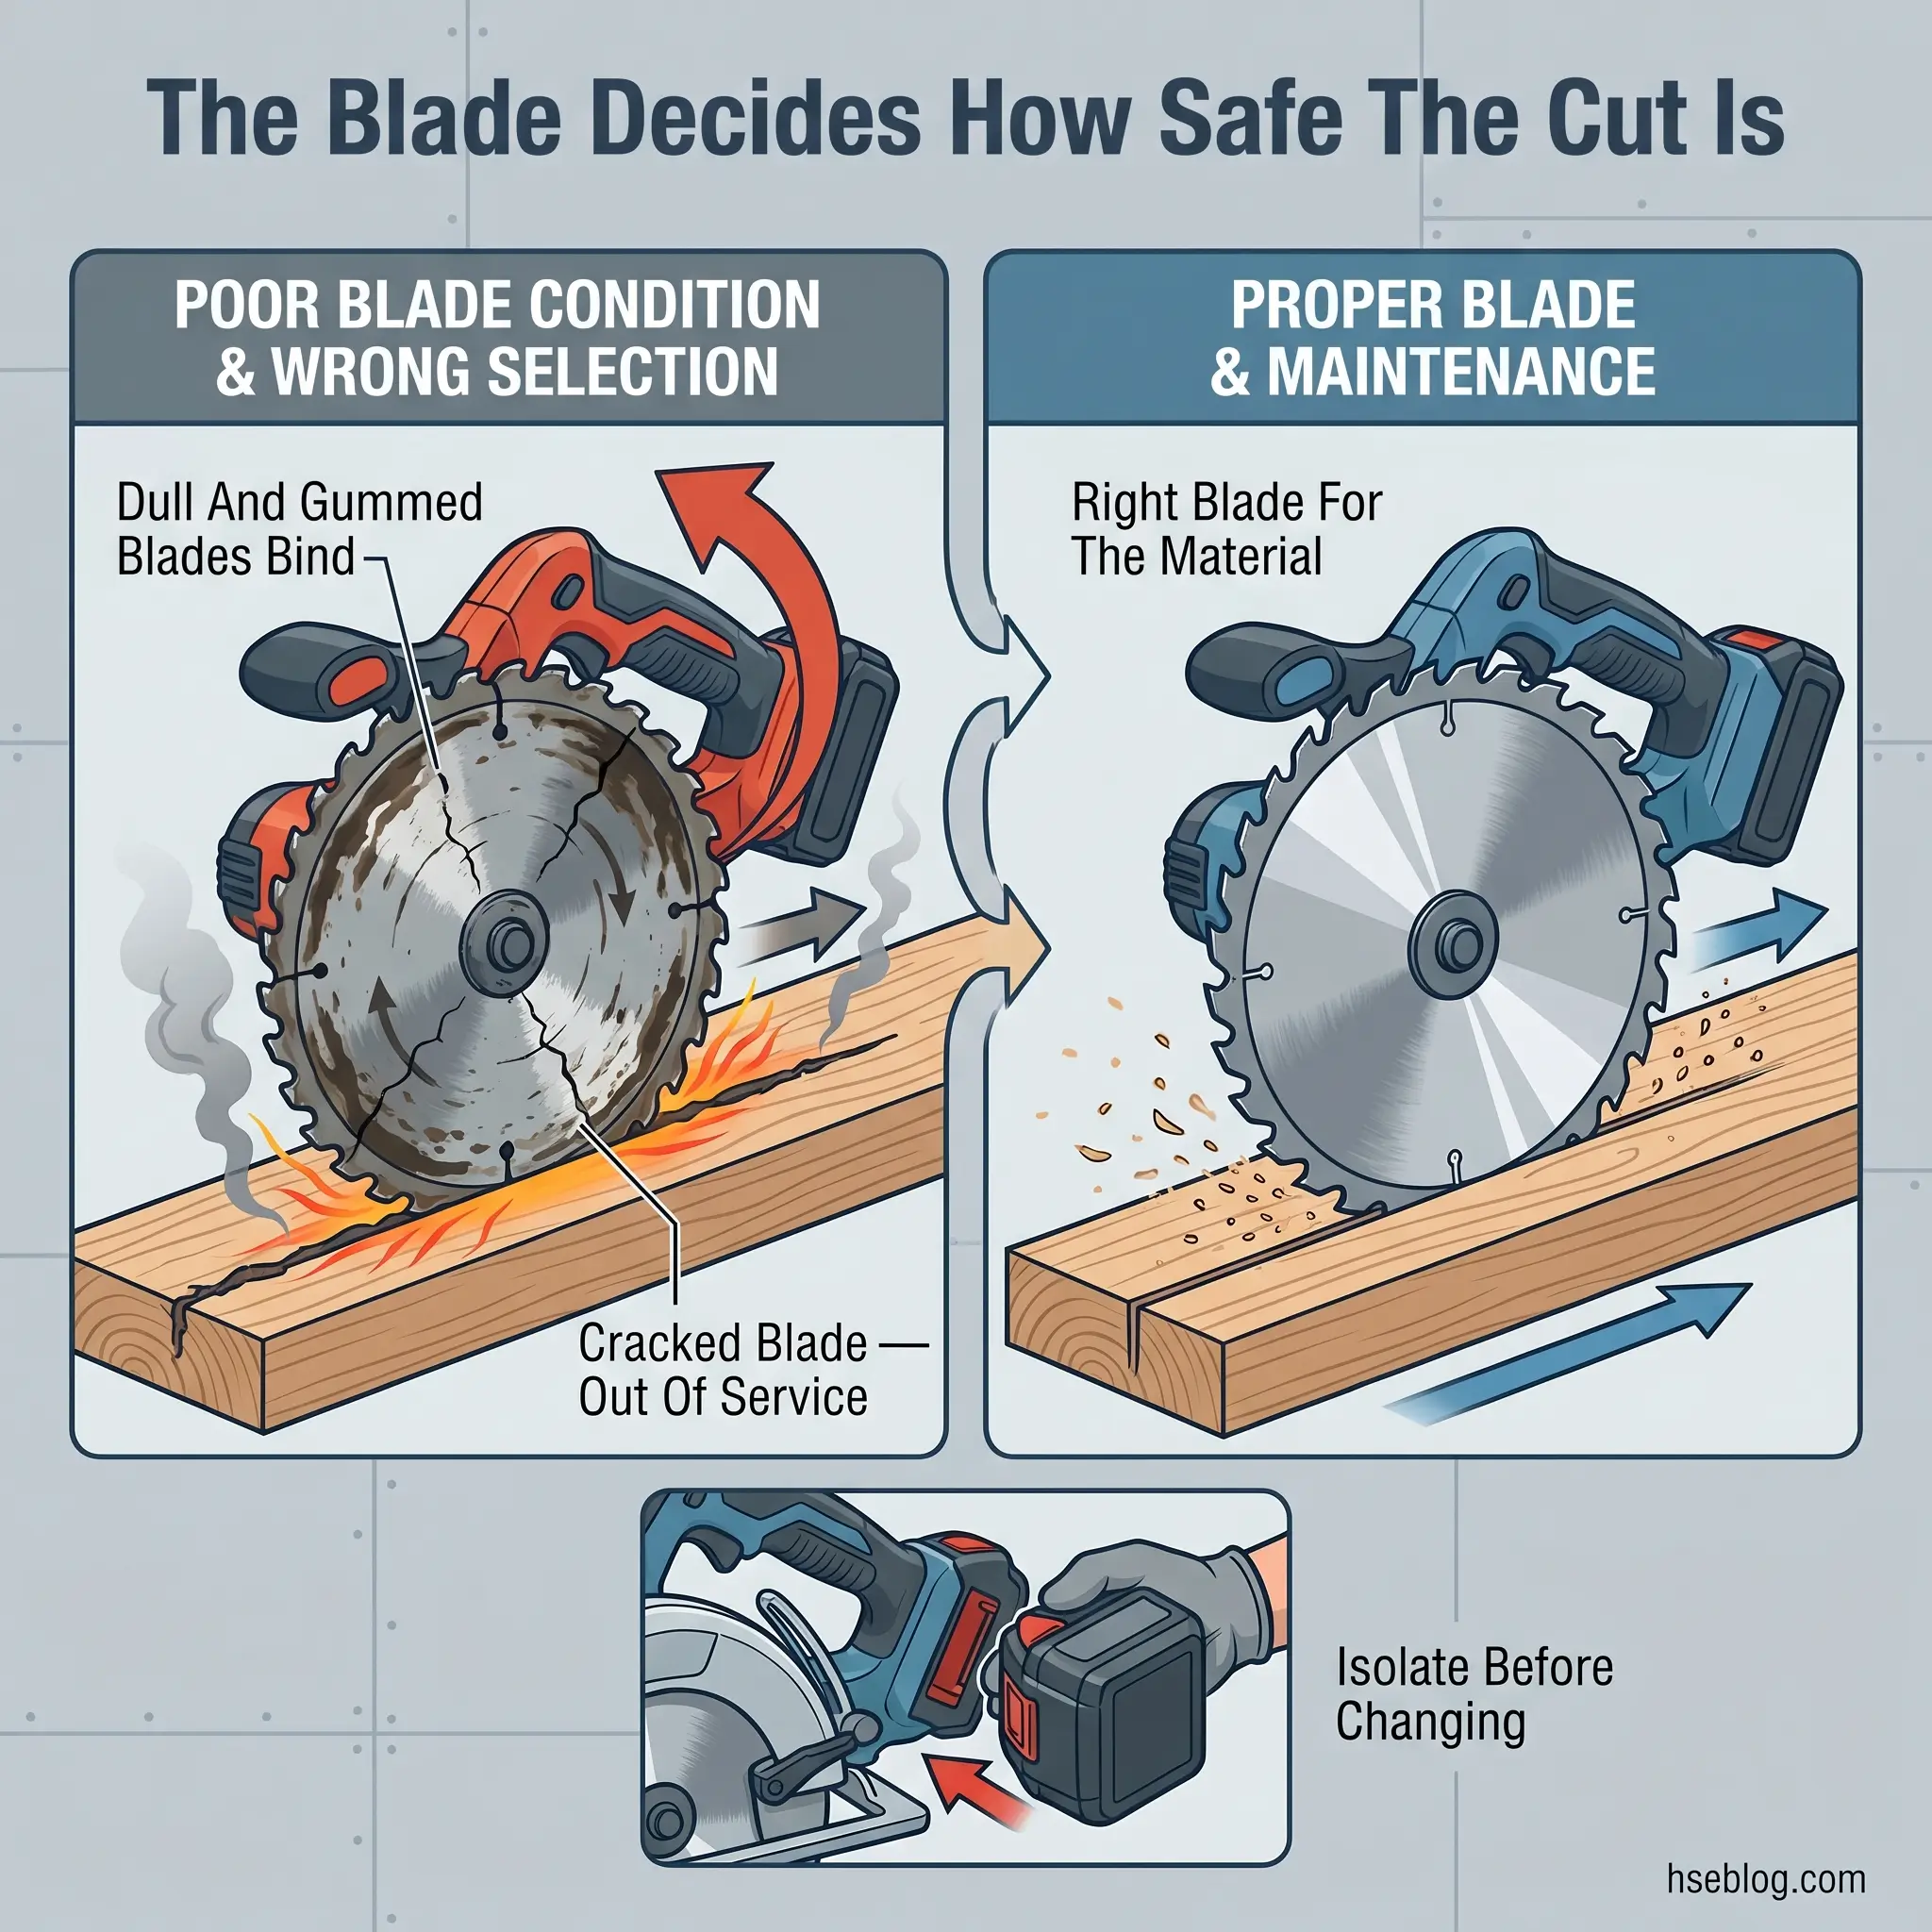
Sawing stainless steel comes down to four critical factors: the right tool, the right blade, proper speed control, and effective heat management. Always match your blade type and TPI to the material thickness. Run your saw at the lowest effective speed and use cutting fluid consistently to prevent work hardening and discoloration.
Before your next project, gather your safety gear, select a bi-metal blade rated for stainless steel, and set up a well-ventilated workspace with proper clamps. Start with a test cut on scrap material if available, and adjust your speed and feed rate based on the results. With the right preparation and technique, you will achieve clean, professional cuts every time you saw stainless steel.