A circular saw tossed on a cluttered shelf risks blade damage, tangled cords, and frustrating searches when you need it most. Poor storage wastes time and shortens your tool’s life. The right circular saw storage ideas keep your saw safe, accessible, and workshop-ready without eating up valuable floor or bench space.
This guide covers vertical wall mounts, horizontal platform racks, enclosed boxes, and creative hacks for tight spaces. You’ll learn DIY builds using common materials, blade protection methods, and cord management techniques that work in real workshops.
Vertical Wall Mounts That Free Up Bench Space

Lifting your saw off the workbench prevents blade misalignment and makes grab-and-go retrieval effortless. Wall-mounted systems use vertical space efficiently and keep your most-used tool within arm’s reach.
Build a French Cleat Saw Holder
A French cleat system uses interlocking rails for secure, tool-free mounting. This design works well for heavy saws and allows quick removal when needed.
The build uses ¾” plywood for strength, with pocket screws creating clean hidden fasteners. Cut two side panels and a stretcher from your plywood stock. Drill pocket holes on the inner edges of the side pieces to hide screws from view. Assemble the frame with the stretcher sandwiched between the sides. Add a top support piece aligned with your saw’s base geometry. Attach a 45° cleat to the back for wall mounting.
Pro tip: Clamp joints during assembly to keep everything square. A marking guide helps align stretchers perfectly.
This approach works best in workshops with open wall space and users who want a durable, removable rack.
Construct a 10-Minute Angled Rack
Need storage fast? This scrap-wood rack takes under 10 minutes and requires only basic tools.
Gather scrap plywood or board about 10″ wide and 12–14″ long, plus screws and a screwdriver. Mark your saw’s base width on the wood, then cut a diagonal corner to create a support ledge. Position the saw on the board and mark where the blade guard sits. Plunge-cut a slot along that line, starting in the middle of the wood. Attach an angled support strip underneath to prevent tipping.
Safety note: Always clamp the workpiece securely. Keep hands clear of the blade path during cuts.
This rack is functional rather than fancy. It works well for temporary setups, garage workshops, or anyone wanting storage without a major build.
Hang with a Simple Nail or Hook
The fastest method uses a single 16-penny nail or bicycle hook.
Drive a nail into a stud or shelf, leaving ¼” to ⅜” exposed. Hang the saw by its blade guard on the nail head. For worm drive saws, a “skyhook” mounted under a workbench on a 2×4 provides stable hanging.
This approach suits low-traffic areas and quick installations. It’s not ideal for heavy saws or frequent moves due to accidental knock risks.
Horizontal Platform and Shelf Storage
Storing your saw flat on a platform protects the blade and integrates cord control. These designs work well for benchtop setups and existing shelving systems.
Build a Triangular Side-Support Rack
This shelf-friendly design holds the saw upright with the blade vertical, reducing alignment stress from sideways pressure.
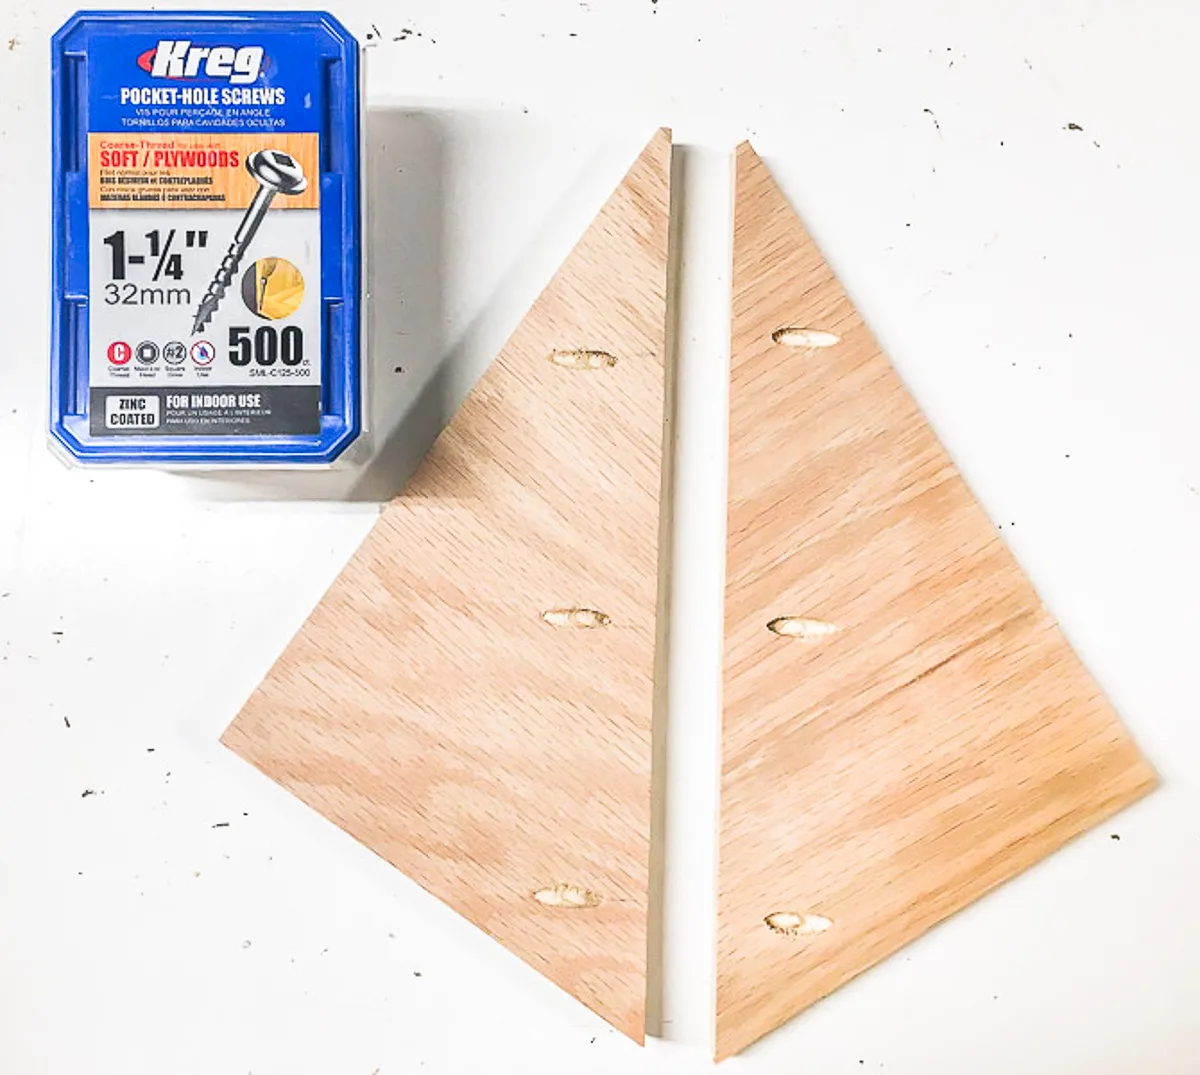
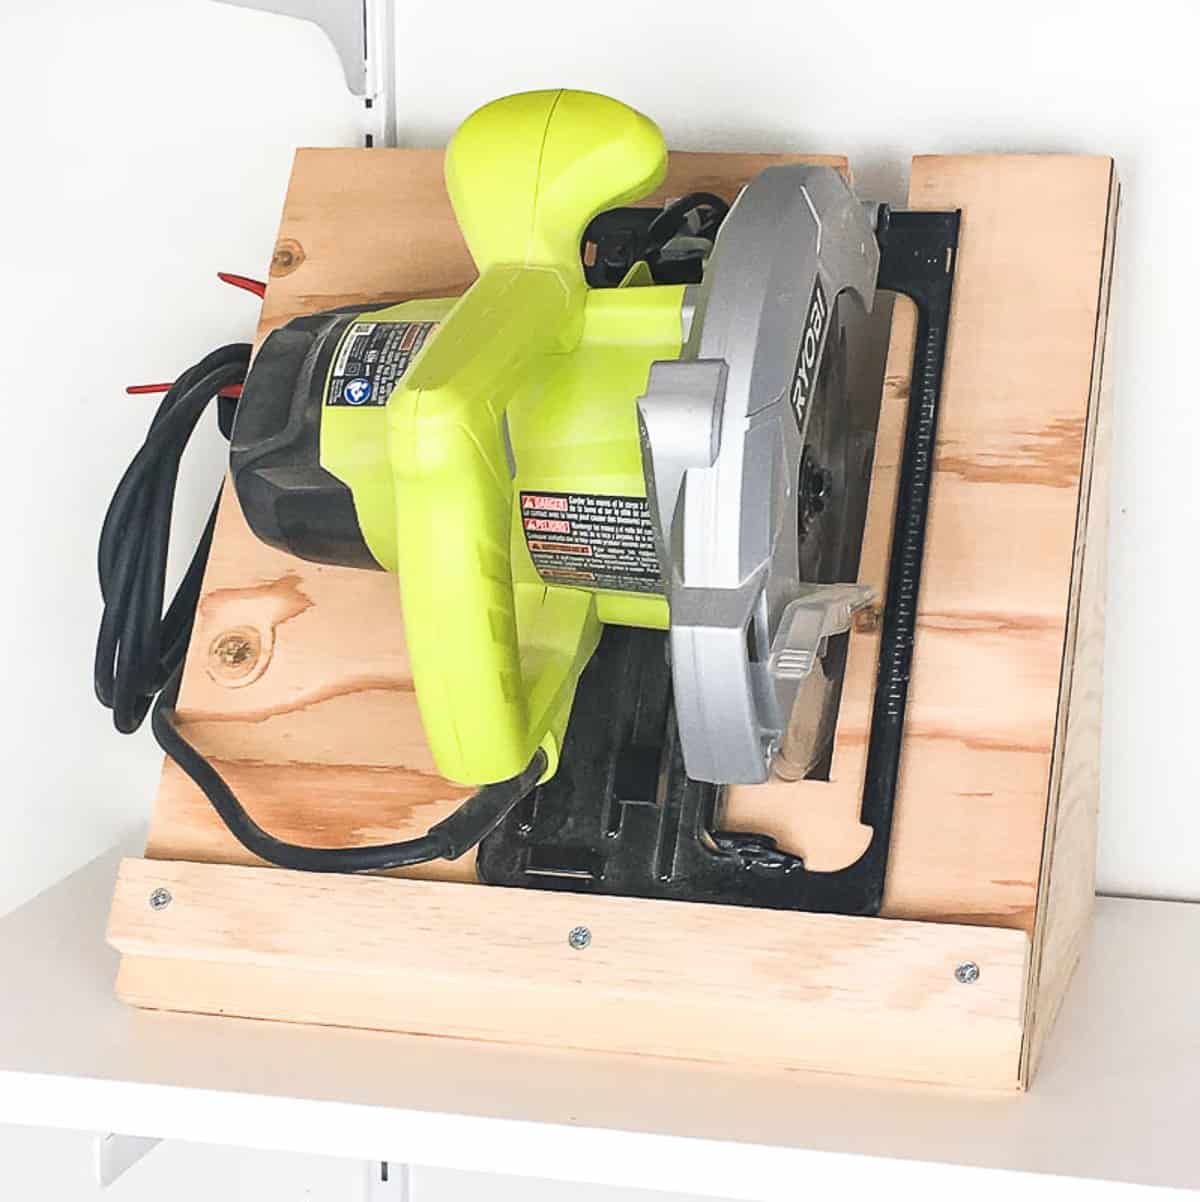
Use ¾” plywood at least 12″ x 24″. Cut two 8″ x 12″ triangles diagonally for side supports. Drill pocket holes along the diagonal edge of each triangle. Cut a 12″ x 14″ base platform and a slot slightly wider than the blade guard (about 1″ wide and 11″ long). Attach the triangles to the back of the base. Install a 1½” x 12″ support strip underneath to prevent forward tipping.
The vertical blade position eliminates side pressure that can bend the arbor over time. Add a cord hook or Velcro strap to keep the power cord tidy.
This rack suits small shops, mobile setups, and benchtop storage where you want quick access.
Adapt Existing Shelves with Simple Modifications
Upgrade basic shelving without building from scratch.
Options to consider:
– Screw a 2×4 to the back of a shelf as a vertical stop
– Cut a blade-width slot so the saw sits upright with the blade recessed
– Build 4″ high cubbies under the shelf for cords, blades, and accessories
Dedicate one shelf specifically for saws and keep empty cases nearby for jobsite transport. This approach maximizes existing storage and works well with modular shelving systems.
Store Saws in Drawers or Cabinets
Enclosed storage keeps saws dust-free and out of sight.
A lateral file cabinet’s bottom drawer fits corded circular saws well. Deep drawers accommodate large, awkward tools without stacking. Custom cabinets with vertical slots cut into shelves let saws sit upright securely.
Enclosed storage protects the motor and guard from sawdust buildup. It prevents tripping hazards and keeps tools away from kids and pets. The tradeoff is slower access compared to open racks, making it better for clean workshops or shared spaces.
Enclosed Storage Boxes for Maximum Protection

Protect your saw from dust, moisture, and accidental bumps with a custom plywood box. Enclosed designs work well for long-term storage or expensive tools.
Make a Scrap Plywood Storage Box
Turn leftover wood into a wall-hanging protective case.
You’ll need ¾” scrap plywood for three main panels, wood glue, screws, and battens for reinforcement. Cut three panels large enough to enclose the saw. Cut 45° angles on the top panel’s edges for a snug nested fit. Glue a stop block to the base for alignment. Reinforce corners with internal plywood battens, pre-drilling to prevent splitting. Dry-fit all pieces before final assembly. Cut a rectangular opening in the front for the blade to protrude. Attach a 45° angled hanger to the back for wall mounting.
Critical safety step: Cut the blade slot with a jigsaw before assembly. Never plunge-cut into the assembled box.
Customize with rubber or fabric lining to prevent scratches. Paint or stain for a finished look. Add a label on the front for quick identification. This approach works best for long-term storage and protecting rarely used or expensive saws.
Use Soft Cases and Bags for Portability
Soft storage wins for mobile contractors and users with multiple tool sets.
Keep cordless saws in their original tool bags with batteries and accessories. Large cloth bags can hang from ceiling trusses with name tags for identification. Store empty cases on a separate shelf for quick jobsite packing.
Label bags clearly and use Velcro straps inside to secure the saw. This works best for mobile contractors or anyone who transports tools frequently.
Creative Storage Hacks for Unusual Spaces
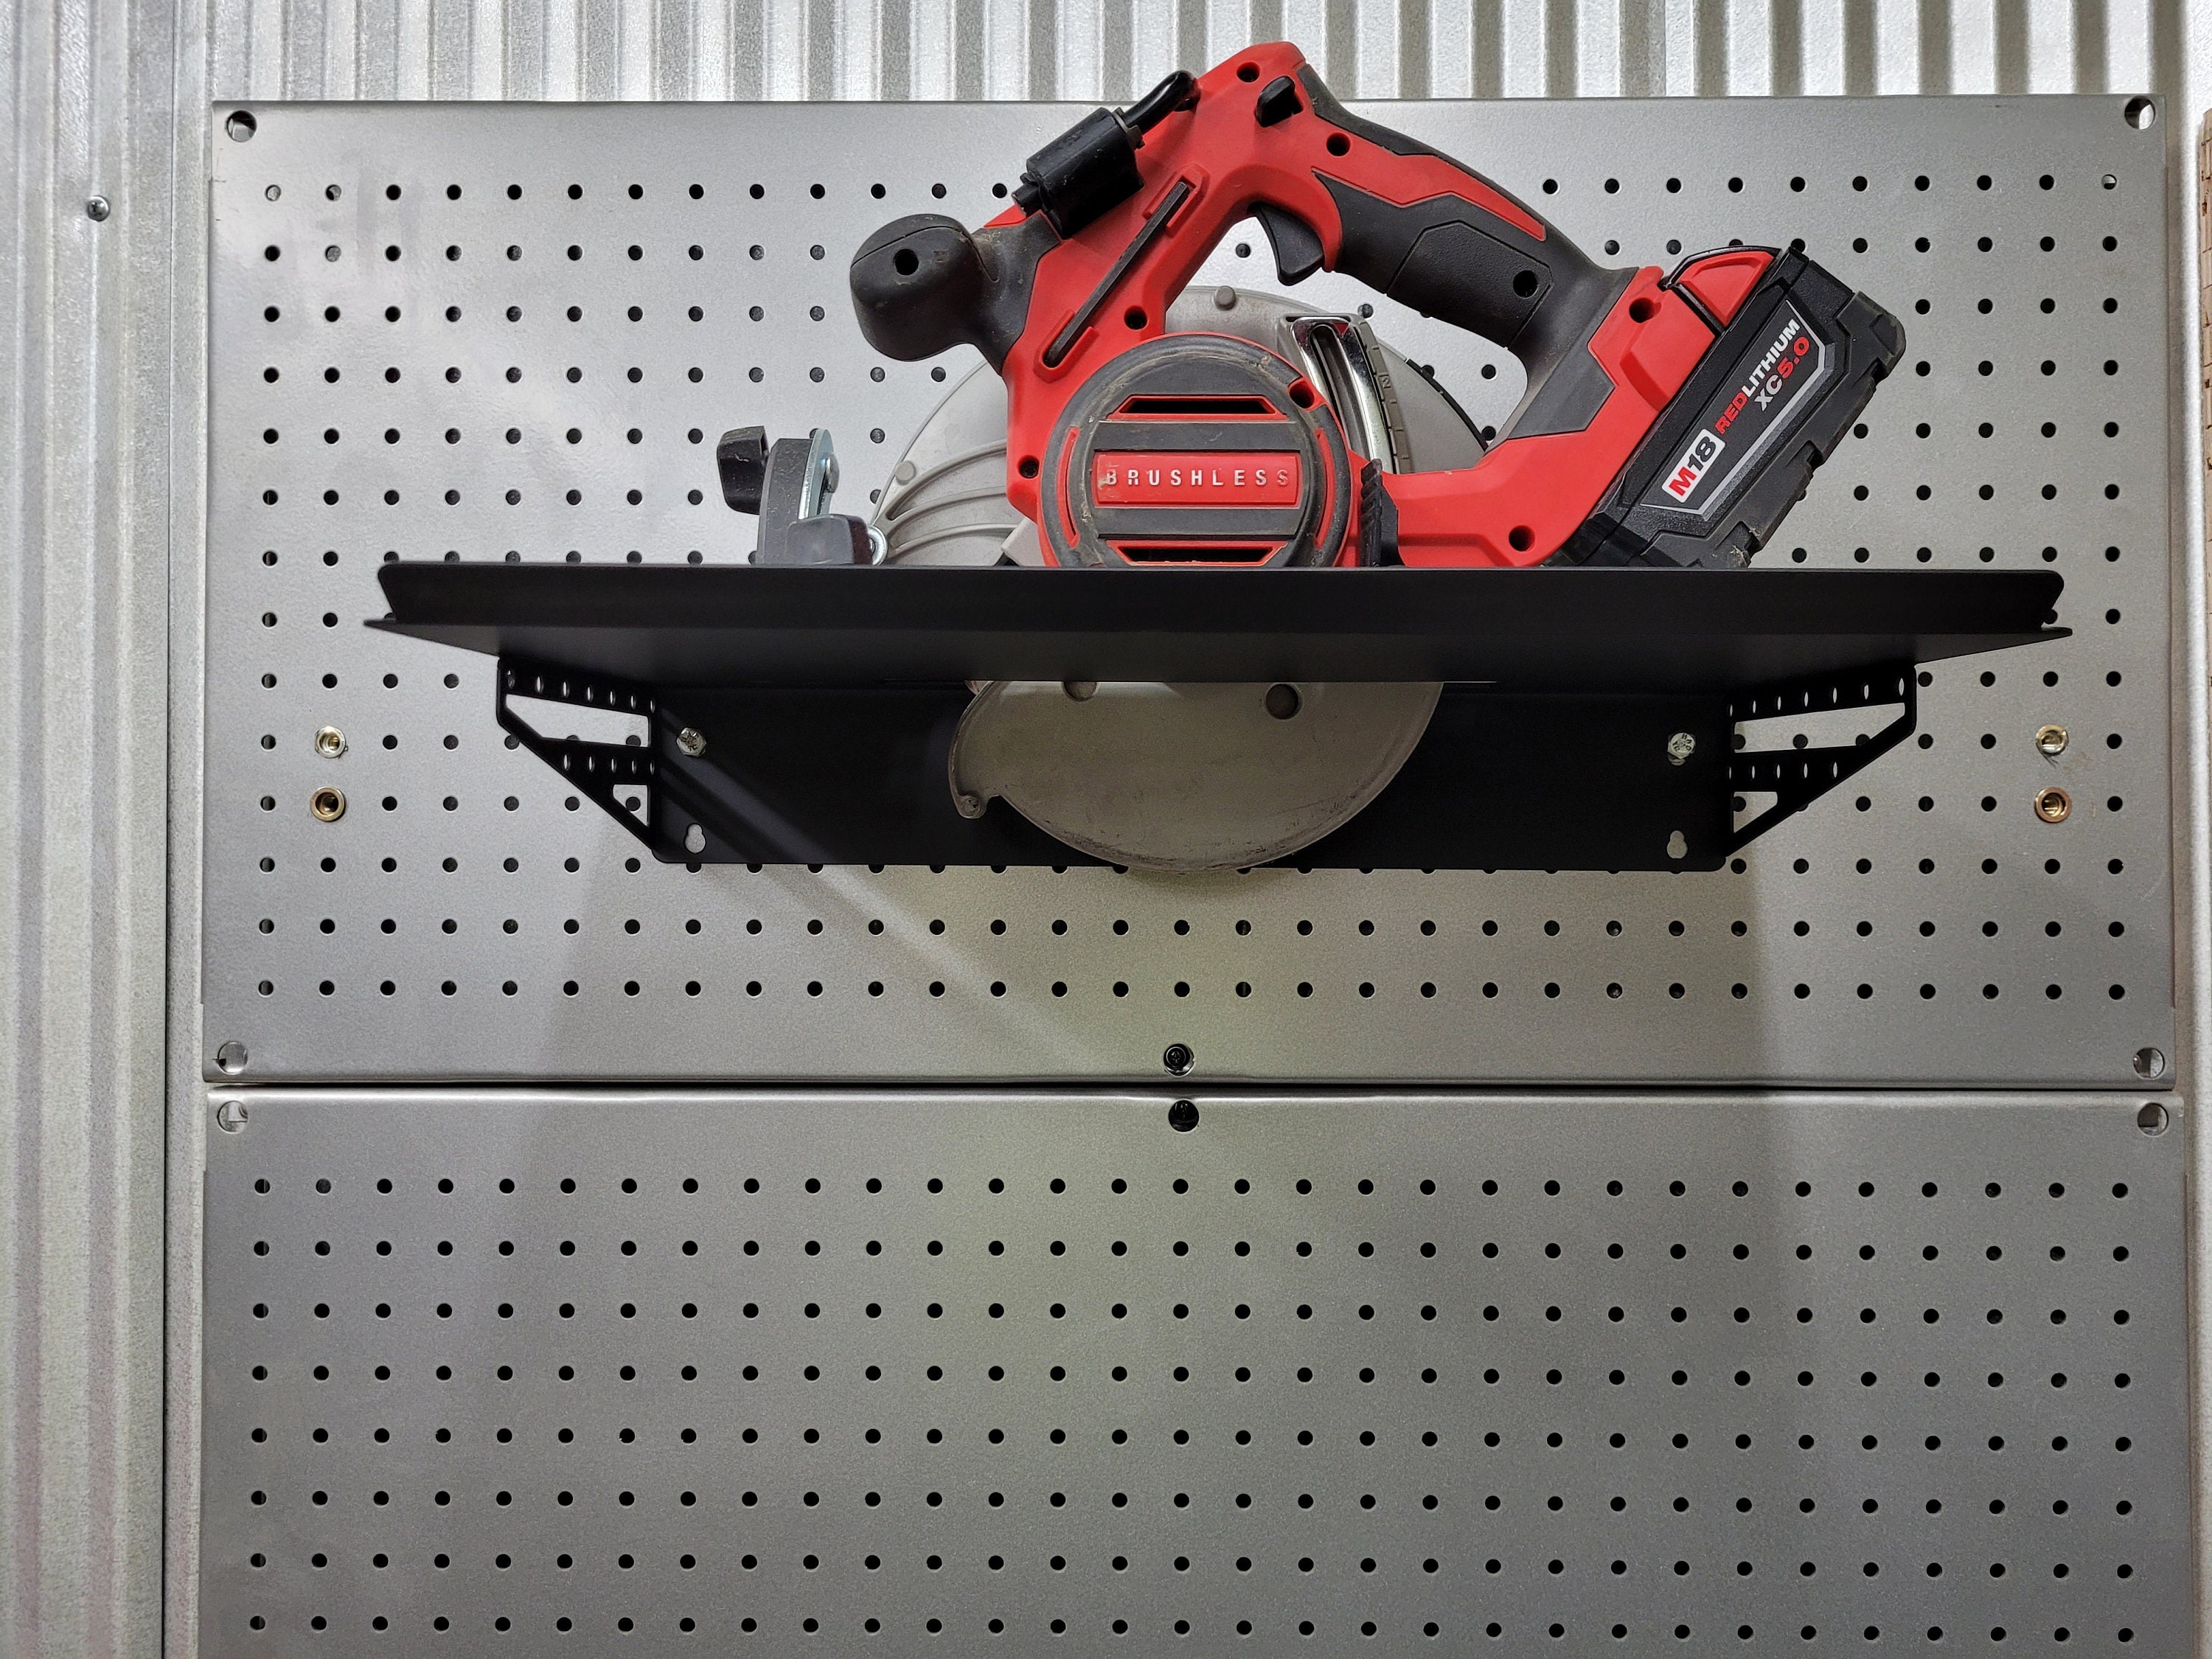
Think beyond walls and shelves with unconventional approaches that solve specific problems.
Hang Saws from Ceiling Trusses
Free up floor and wall space by going vertical in the opposite direction.
Hang large cloth bags from ceiling trusses or use heavy-duty hooks for direct tool hanging. This requires high ceilings with accessible trusses and a ladder for retrieval.
Ceiling storage works best in large workshops with overhead space and for infrequently used tools.
Skip the Dangerous Kerf Cut Method
Some suggest using the saw to cut its own wall slot. This is a serious safety hazard.
The saw can hit hidden wiring or plumbing behind walls. It damages wall surfaces and reduces property resale value. You lose control during the cut-in, creating high accident risk.
This shortcut has serious consequences. Use proper storage methods instead.
Safety and Best Practices for Saw Storage
Smart storage protects both your tool and your workshop. A few key practices prevent common problems and extend your saw’s lifespan.
Prevent Blade Misalignment
Storing a saw on its side in a pile can bend the arbor over time. Sideways pressure slowly knocks the blade out of true.
Use vertical or upright storage with the blade up or vertical. This eliminates side pressure and keeps cuts accurate.
Manage Cords to Prevent Damage
Tangled cords lead to frayed insulation and tripping hazards. Corded saws often become a mess when stored carelessly on shelves.
Attach cord hooks directly to your rack. Wrap cords with Velcro straps, which are gentler than tight winding. Store cords in dedicated cubbies separate from the saw itself.
Protect Against Dust Accumulation
Sawdust in the motor or guard mechanism reduces performance and causes premature wear.
Enclosed boxes or cabinet storage provide the best defense against dust. Even open racks benefit from occasional cleaning to remove buildup.
Ensure Quick Access for Daily Use
If storage is too slow or awkward, you won’t use it consistently. The best systems feel effortless.
The saw should be grab-and-go ready. Avoid deep cabinets or complex latches for tools you use daily. Save enclosed storage for seasonal or rarely used saws.
Long-Term Durability Tips for DIY Storage
Make your storage last with smart construction choices and regular maintenance.
Choose ¾” Plywood for Strength
Thinner material sags under heavy saws, especially worm drive models that weigh more.
Add battens or stretchers to prevent bowing over time. The extra material cost pays back in years of reliable service.
Reinforce Joints Properly
Glue alone often fails in scrap wood builds. Joints need mechanical fasteners to handle workshop stress.
Use screws, pocket holes, or battens at all stress points. Pilot holes prevent splitting in thinner plywood edges.
Inspect Storage Every Few Months
Check for loose screws or splits in wood. Make sure the blade guard moves freely and isn’t obstructed by the storage mechanism. Inspect cords for damage from tight wrapping or repeated bending.
A quick inspection every 3–6 months catches problems early. Check more often after heavy use or if the saw feels unstable in its storage spot.
Frequently Asked Questions About Circular Saw Storage
What is the best way to store a circular saw in a small garage?
Wall-mounted vertical storage works best for small garages. A French cleat holder or simple angled rack lifts the saw off the floor and keeps it accessible without consuming floor space. The vertical position also protects blade alignment.
Can I store a circular saw on its side?
Storing a circular saw on its side for extended periods can bend the arbor over time due to sideways pressure. Vertical storage with the blade up or upright is safer for long-term blade alignment and tool longevity.
How do I protect my circular saw blade during storage?
Store the saw with the blade vertical or facing up to eliminate side pressure. Use a rack with a slot that supports the blade guard without bending it. Enclosed boxes add dust protection for long-term storage.
What materials do I need to build a DIY circular saw rack?
Most DIY racks use ¾” plywood for durability, plus wood screws or pocket hole screws for assembly. Basic tools include a drill, saw, measuring tape, and clamps. Scrap wood works fine for simple angled racks that prioritize function over appearance.
How much space does a wall-mounted circular saw holder need?
A typical wall-mounted holder needs about 12″ x 14″ of wall space plus clearance above for easy removal. French cleat systems allow you to move the holder between locations without drilling new holes. Vertical mounting maximizes wall space efficiency.
Are soft storage bags good for circular saws?
Soft bags work well for cordless saws and mobile contractors who transport tools frequently. They protect against dust and scratches but offer less structural protection than rigid cases. Keep the saw secured inside with Velcro straps to prevent movement.
Key Takeaways for Organizing Your Circular Saw
The best circular saw storage ideas balance accessibility, protection, and space efficiency. Vertical wall mounts like French cleat systems keep saws visible and grab-and-go ready. Horizontal platform racks work well for benchtop storage and existing shelving. Enclosed boxes provide maximum dust protection for long-term or seasonal storage.
Prioritize blade alignment by storing saws vertically or upright. Manage cords with dedicated hooks or Velcro straps to prevent damage. Make daily-use saws easy to grab so you actually use the storage system consistently.
Start with a simple 10-minute angled rack if you need storage today. Upgrade to a French cleat system or enclosed box as your workshop evolves. With these proven methods, you can eliminate clutter, extend your tool’s life, and make every cut start faster.